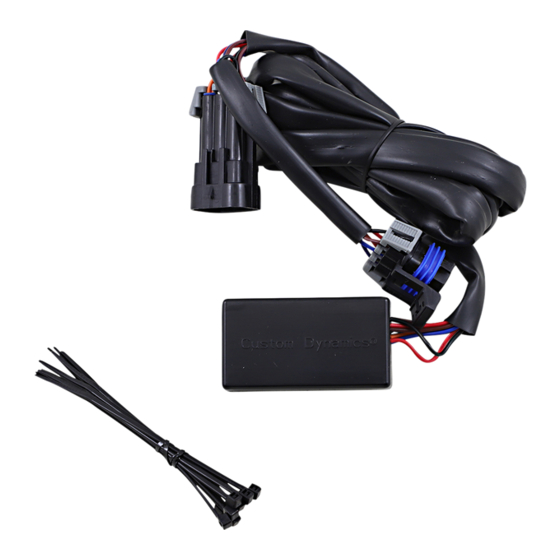
Custom Dynamics GEN-SMART-TPU -IND Инструкции по установке - Страница 3
Просмотреть онлайн или скачать pdf Инструкции по установке для Аксессуары для мотоциклов Custom Dynamics GEN-SMART-TPU -IND. Custom Dynamics GEN-SMART-TPU -IND 4 страницы.

Program Mode
7.
The Smart Triple Play® allows you to program the running light brightness of the turn signals so they are a match to
your center taillight. To enter the modules program mode:
•
Turn ignition key off, be sure Switch 1 and Switch 2 are in the OFF position and the Rotary Dial in in the 0 position.
•
Turn ignition key on, immediately turn Switch 1 On-Off-On, turn Switch 2 On-Off-On. Do not depress Brake or Turns
Signals during this action.
•
The turn signals should now fade up and down slowly, do not proceed unless this confirmation takes place.
Opt 1 - Turn the rotary dial clockwise to increase the brightness of the running lights, 0-being the dimmest setting and 8-
being the brightest. Match the running light brightness to the taillight. Once happy with the setting, press and hold the brake
for a couple of seconds. The setting will now be saved.
Opt 2 - To disable the run function and receive only brake and turn signal function on the rear turn signals, turn the rotary
dial to 9. Press and hold the brake for a couple of seconds. The setting will now be saved.
8.
Turn ignition key OFF and set switches for desired Operation.
Switch Functions:
Switch 1 On, Switch 2 On: Strobes/Flashes on all three rear lights
Switch 1 On, Switch 2 Off: Strobes/Flashes on center light only
Switch 1 Off, Switch 2 On: Strobes/Flashes on rear turn signals only
Switch 1 Off, Switch 2 Off: No Strobes/Flashes
Dial Strobe Functions: (Note that Patterns 0-3 are compatible with incandescent bulbs) See Diagram on page 4.
9.
Turn ignition key on and Test Operation based on your desired switch settings. Once programming is complete, re-
install the seat. Installation is complete
Questions? Call us at: 1 (800) 382-1388
Installation Instructions - Page 3
M-TH 8:30AM-5:30PM / FR 9:30AM-5:30PM EST
11-2018
