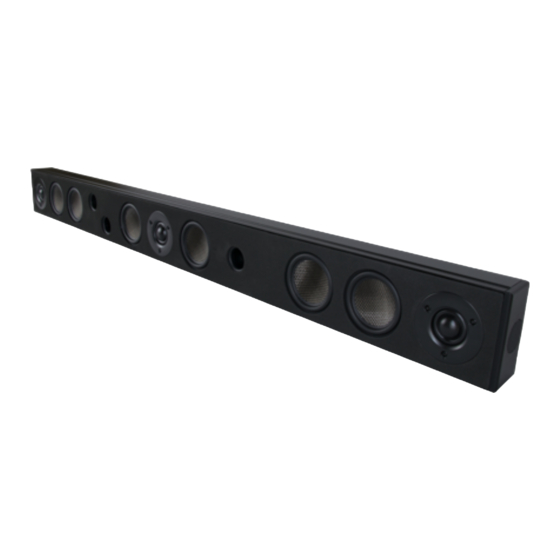
Artison STUDIO65-BG Краткое руководство по эксплуатации - Страница 2
Просмотреть онлайн или скачать pdf Краткое руководство по эксплуатации для Акустическая система Artison STUDIO65-BG. Artison STUDIO65-BG 2 страницы. Studio soundbars

Rear Panel
Speaker Wire Terminals - (6) terminals accepts speaker wire with a
minimum of 16 AWG and a maximum of 12 AWG.
Wiring
The Studio Soundbars require a multi channel amplifier. They use
three discrete channels (Left, Center, and Right). Terminals are noted
positive and negative. When using TV mounting hardware the Left
and Right terminals can switch on the Soundbar based on if it's be
mounted above or below a TV.
1. Strip 3/8" (9 mm) of the casing of the speaker wire.
2. Depress speaker wire terminal.
2
3
3. Insert bare wire.
4. Release speaker wire terminal.
5. Repeat steps 1 to 4 for each connection.
Artison Studio Soundbar Quick Start Guide | 009-1968-01
Copyright 2021 Savant Systems, Inc | 211102
Installation
Wall Mount
1. Using appropriate fasteners to support the weight of the soundbar,
affix wall mounting brackets to the wall, allowing sufficient space
between brackets to ensure stability.
2. If utilizing the included bracket extensions, connect to wall
mounting brackets using M5x10mm screws.
3. Make all wiring connections to soundbar before mounting to
brackets.
4. Align the captive M5 threaded brackets inside soundbar mounting
slide with position of wall mounting brackets.
5. Attach soundbar by threading M5x10mm screws through wall
brackets and into the soundbar's captive mounting slide brackets.
Plastic Feet
1. Align the captive M5 threaded brackets in the soundbar mounting
slide beneath the center speakers of right and left side channels.
2. Secure plastic feet to the captive brackets using M5x10mm screws.
3. Remove wax paper from the adhesive backing on included rubber
pads and attach one to each of the plastic feet.
www.savant.com/artisonspeakers
2
of
2
45 Perseverance Way, Hyannis, MA 02601
| 508.683.2500
