Artos M06845H Руководство по установке - Страница 5
Просмотреть онлайн или скачать pdf Руководство по установке для Подогреватель продуктов Artos M06845H. Artos M06845H 7 страниц. Denby towel warmer

Bracket Installation:
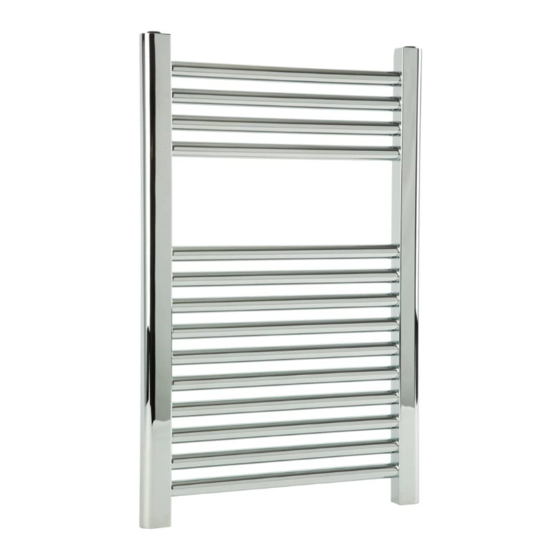
3. Attach bracket pieces 1,2,3, and 4 to towel warmer using diagram 1 below as a guide.
Typically the brackets are positioned between the 2nd and 3rd bars from the top and
bottom. To allow maximum hanging space for the towel, position brackets as near to
the edges as possible.
4. Determine location of #6 outer rear cylinder by measuring the brackets attached to towel
warmer. Attach #6 cylinder to wall with hole for #7 locking screw facing down on the bottom
brackets and facing up on the top brackets.
5. Push towel warmer onto the wall, inserting #4 into #6.
6. Insert lower locking screws ( #7 ) . Snap on caps #8.
Diagram 1
#8 Cap
Valve Installation: ( use Diagram on page 6 as a guide )
7. Thread # 1 male stub into female inlets on bottom of towel warmer using a threadlocking
substance.
8. Push # 2 compression fitting onto supply pipe and tighten onto valve body.
9. Tighten #1 male stub ( now attached to towel warmer ) onto valve.
10.Insert blanking plugs ( provided with brackets ) into female inlets located at the top of
towel warmer.
11.Check for leaks.
#2 Front Cylinder
Head
#1 Securing
Bolt
Horizontal Bars
INSTALLATION STEPS
#3 Rear Cylinder Head
#5 Wall Fixing
Screw
#4 Inner Rear
Cylinder
#7 Locking Screw
#6 Outer Rear Cylinder
