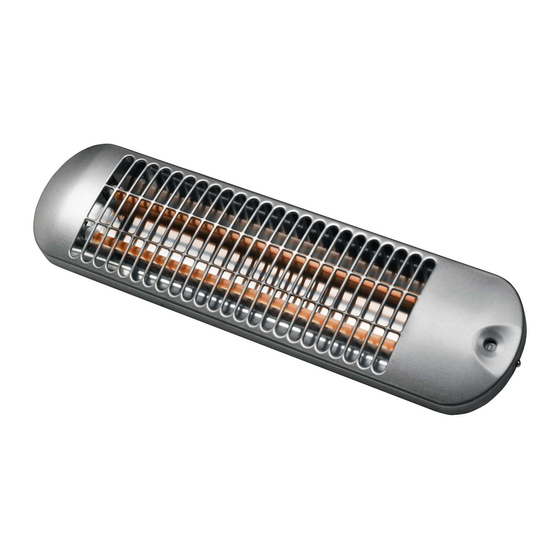
AKO BK 1201 Руководство по установке и эксплуатации - Страница 3
Просмотреть онлайн или скачать pdf Руководство по установке и эксплуатации для Нагреватель AKO BK 1201. AKO BK 1201 12 страниц. Infrared radiator
Также для AKO BK 1201: Руководство по установке и эксплуатации (16 страниц)

EN
Installation and Operating Instructions
Infrared Heater BK 1201, BK 2001, BS 1201, BS 1801
1. Important Information
Keep these instructions in a safe place and pass them on to
possible future owners.
• The device must not be used in industrial areas, and may
only be used within enclosed rooms.
• The device may only be installed and repaired by a qualified
electrician in accordance with the applicable safety
regulations.
• Disconnect from the power supply in the event of a fault.
• Do not cover the heating device with any objects
- fire hazard!
• Observe the minimum clearances.
• Caution! The outer surfaces of the device are hot
during operation.
• Do not use the device as a changing table heater!
• Do not leave the heating device unattended when in use.
This applies particularly with small children or persons with
impaired health who are not able to vacate the radiation
area or the room when the temperature reaches an exces-
sive level.
• Children or persons who are not capable of operating the
device safely must not operate the heating device.
• Ensure that children do not play with the device.
• Do not operate the heating device in rooms where highly
flammable substances are used (e.g. solvents etc).
Minimum Clearances, Notes on Installation
The minimum clearances must be observed.
In addition, a minimum clearance of 65 cm must be observed
in front of the device.
Inflammable objects must not be placed in the radiation area of
the heating device.
The heating device must be aligned horizontally and installed
on a vertical wall (see illustration).
The device must be installed at a minimum height of 1.8
metres.
It is not permissible to install the device vertically or on the cei-
ling.
The protection areas defined in VDE 0100 Part 701 must be
observed during installation.
Do not place the device directly below a wall socket.
The device must be installed in such a way that it cannot be
touched by a person in the bathtub or in the shower.
The supply connection socket must be accessible after instal-
lation.
Installation on wooden walls is permissible.
Due to the heat radiation of the device, the surface on which
the device is installed can darken in colour.
Remove transport fastening
- Loosen the front grill screws (A) and remove the front grill.
- Remove the transport fastenings (B) from the heating ele-
ments.
- Re-attach the front grill.
B
B
A
Wall Mounting
To achieve the stipulated minimum installation height of 1.8
metres, the mounting holes for the wall holder must be drilled
at a height of 1.9 metres.
- Loosen the screw on the connection compartment cover
and remove the cover.
- Fold the radiator forward.
- Mark and drill the mounting holes on a vertical wall and in-
sert dowels.
- Insert spacers with screws into the openings of the wall hol-
der and screw the device into place.
2. Electrical Connection
Heating device must be earthed!
Connect to permanently installed wiring only.
Cable must not be laid in the radiation area of the heating de-
vice and must not be in contact with the device's casing.
The voltage specified on the type plate must match the mains
voltage. It is recommended that a separate circuit be provided
for the power supply. A separator with a minimum contact ope-
ning of 3mm must be provided on each pole in the permanently
connected electrical installation (e.g. a circuit breaker).
3
A
