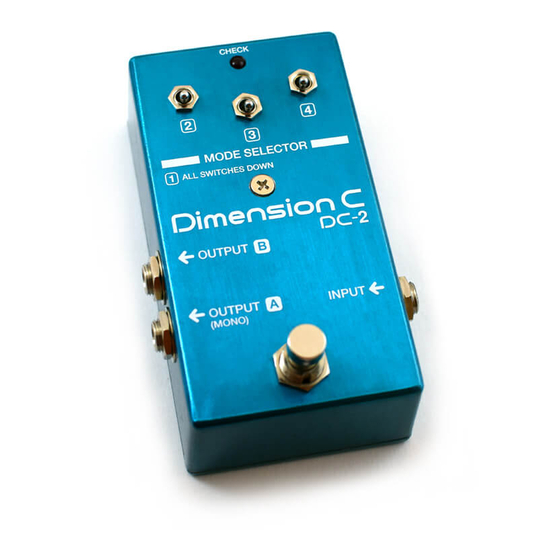
Aion Electronics Blueshift Chorus Руководство - Страница 7
Просмотреть онлайн или скачать pdf Руководство для Музыкальная педаль Aion Electronics Blueshift Chorus. Aion Electronics Blueshift Chorus 17 страниц.

For international DIYers, Mouser recently upgraded their international shipping options, so it's very likely that
you will be able to get free shipping with a project this size. Their prices are very competitive as well.
The BOM does assume you have zero parts on your bench, so you may be able to save a few dollars by
comparing the spreadsheet with what you've got already and removing what you don't need, especially things
like the IC sockets. But just know that while it may save a little bit of money to use your own, I guarantee it will
save a lot of potential mistakes to receive them all in labeled bags!
With that said, I have to give the disclaimer that this spreadsheet is being provided only as a convenience.
You are responsible for checking through the parts to make sure they are the ones you want, and Mouser
is responsible for sending you the correct parts. I tried to pick high-availability components from well-known
manufacturers that are stocked in large quantities, but with 70 different parts, it's likely that one or two of them
will be out of stock at any given time. You will have to find your own replacements if that happens.
Calibrating
In order to get the highest amount of headroom out of the unit, you'll need to adjust the trim pots using a signal
generator and an oscilloscope. If you don't have an oscilloscope, you can get pretty close just adjusting by ear.
Most BBDs do not handle signal symmetrically, so the point of highest headroom is not generally going to be at
the halfway point of the supply voltage like it would be with op-amps. And BBD manufacturing processes were
not very precise, so the circuit must be tuned to the exact BBDs being used.
Whether you do or don't use an oscilloscope, the first step is to trim the BBD's bias voltage to half of the
supply voltage. This sets the starting point for the calibration. The regulated supply for the BBD section
should be around 6.8V, so you'll want to adjust the trimmers until you read 3.4V on pin 3 of each BBD. This can
be done on just the bottom PCB without the top PCB being attached as long as the unit is powered. It can even
be done before you solder the toggle switches in place.
TR1 adjusts IC9 and TR2 adjusts IC3.
Calibrating without an oscilloscope
While not as accurate as using an oscilloscope, setting the bias voltage by ear will lend good results that
should be enough for most usage. It's pretty basic: you just want to adjust the two trimmers until you have the
least amount of distortion in the audio signal. However, it's not very easy to hear, and you certainly won't be
able to get it tuned with the same level of accuracy if you use an oscilloscope.
So, without an oscilloscope, your best bet is to just set the voltage to the average of different BBDs that have
been tested, then adjust from there if you can hear audible distortion. I came up with a spreadsheet that will be
periodically updated as people send me their voltages.
In my testing (which involved measuring an original DC-2 as well as testing the different brands of BBDs in the
Blueshift), the optimum bias point was always between 3.3V and 3.8V.
Calibrating with an oscilloscope & signal generator
This assumes you know how to operate a signal generator and an oscilloscope and know how to interpret the
readings. If you don't have one or don't know how to use one, please use the earlier "Calibrating without an
oscilloscope" section. If you're planning on building the DC-2 for someone else in any kind of quantity, though,
please do invest in an oscilloscope—you shouldn't be selling your work if it's not been professionally calibrated!
Here is how to set the bias using an oscilloscope.
1.
If the unit is wired up inside the enclosure, make sure it's set to "On" using the footswitch. If the unit is not
yet wired up, you'll need connect pad "N" to ground to turn on the optocoupler. (This is the same for either
bypass method, but the jumpers on the optocoupler need to be set already.)
BLUESHIFT CHORUS / BOSS DC-2 DIMENSION C
7
