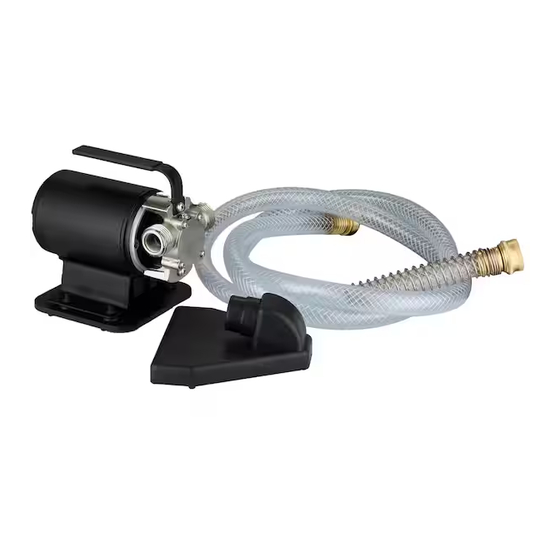
Acquaer TRP010-2 Руководство пользователя - Страница 4
Просмотреть онлайн или скачать pdf Руководство пользователя для Водяной насос Acquaer TRP010-2. Acquaer TRP010-2 13 страниц. Transfer pump

WARNING: Always use handle to lift pump. Never use power cord to lift pump. To avoid skin
burns, unplug and allow time for the pump to cool after periods of extended use.
Estimated Assembly Time: 5 minutes
Materials Required for Assembly (not included): Garden Hose (50 ft. max. length)
Never operate this pump unless it is secured to a solid foundation.
Do not suspend the pump by the discharge hose or power cord.
K
eep the pump suction strainer clear.
D
o not install pump directly on sand or dirt.
1. Add water (approximately 1-2 Tbsp.) into inlet to wet the impeller of the
pump (A).
2.
Attach suction hose (C) by pushing the male threaded end into the
rubber suction strainer (B). Then, place the strainer in at least 1/2 in. of
water at the lowest point to be pumped.
NOTICE: Make sure the connection is airtight. An air leak can cause the
pump (A) to run dry.
3.
Thread the other end of the suction hose (C) to the suction inlet of the pump (A).
Make sure the suction hose (C) and suction strainer (B) are in the
water before plugging in the pump (A).
4.
Thread a 5/8 in. or larger garden hose (sold separately, 50 ft. max. length) onto the discharge outlet of
the pump (A).
NOTICE: Make sure the end of the outlet hose is not under water. If the
outlet is under water, the pump may not work.
PREPARATION
INSTALLATION INSTRUCTIONS
1
2
A
C
3
A
4
A
B
C
C
