3M Versaflo TR-600 Series Краткое руководство по эксплуатации
Просмотреть онлайн или скачать pdf Краткое руководство по эксплуатации для Респираторный продукт 3M Versaflo TR-600 Series. 3M Versaflo TR-600 Series 3 страницы. Powered air purifying respirator
Также для 3M Versaflo TR-600 Series: Технический бюллетень (8 страниц), Руководство (3 страниц)
Published: May 2014
Rev: 1 Replaces all previously published guides on this topic until superseded.
The following is a Quick Start Guide for reference purposes only. Before using the TR-600 PAPR, all users must read
and understand the product User Instructions. If you have questions, consult your supervisor or call 3M Technical
Service at 1-800-243-4630 (USA) or 1-800-267-4414 (Canada).
1. Inspect the TR-600 PAPR system. If parts are missing or damaged, replace only with TR-600 replacement parts before
proceeding.
•
Motor/blower. Inspect for cracks, holes, damage to user interface panel and belt attachments.
•
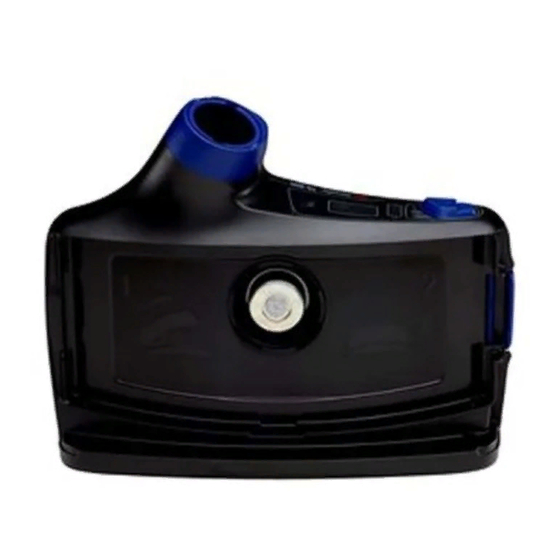
Battery pack. Confirm case is intact. Press TEST button on pack to confirm charge is sufficient for duration of
the work period.
•
Breathing tube. Examine breathing tube for tears, holes or cracks. Bend the tube to verify that it is flexible and not
showing signs of wear. Ensure the o-rings located at both ends of the breathing tube are present and intact.
•
Filter/cartridge. Closely inspect filter/cartridge plastic housing including the corners and latches, outer
rectangular barrier, and inner circular filter seal gasket for cracks, tears, cuts, distortion, indentations or debris.
Replace filter/cartridge if damaged. If the filter/cartridge has been mishandled or dropped, re-inspect fully. If you
have any concern, contact 3M Technical Service for guidance.
•
Headgear. Inspect the headgear for tears, cuts, loose stitching, cracks, discoloration or other signs of damage.
2. Assemble TR-600 PAPR system
•
Attach battery pack to bottom of motor/blower. Pack latches with a distinct click. Gently pull to confirm a secure
connection.
•
(If being used) Install spark arrestor, then prefilter into filter cover.
•
Place the filter/cartridge into the filter cover, ensuring bottom latching tab snaps into place. Note: If not using the
filter cover, proceed to next step and attach the filter/cartridge directly to the motor/blower.
•
Place the hinge side of the filter/cartridge into the motor/blower, then snap latch side into the filter latch.
Filter/cartridge latches with a distinct click. Gently pull to confirm a secure connection.
•
Attach motor/blower to belt or backpack.
•
Insert the end of the breathing tube with the two small prongs into slots in the motor/blower air outlet. Twist the
breathing tube ¼ turn to the right (clockwise) to lock.
•
Attach breathing tube to headgear. Push the QRS end of the breathing tube (blue pinch clip) onto the air inlet of the
headgear. Headgear will secure with a distinct click. Gently pull to confirm a secure connection.
3. Perform flow check.
•
If installed, remove breathing tube.
•
Insert air flow indicator TR-971 into the outlet on the TR-600 motor/blower unit.
•
Start motor/blower. Run for 1 minute.
•
With the airflow indicator TR-971 in a vertical position, bottom of the floating ball must be at, or above, the
minimum flow level indicated on airflow indicator chart for your
system must not
be used until evaluated and repaired.
•
Remove air flow indicator TR-971 and perform low flow alarm test per TR-600 User Instructions.
•
Reattach breathing tube and headgear before use.
4. Don TR-600 PAPR system
•
Turn on motor/blower by pressing and holding blue on/off button.
•
Use belt or backpack to attach PAPR to wearer.
•
Pull headgear over head and adjust.
5. Post Use – Exit work area. Clean and store PAPR following practices established by your employer and in compliance
with the product User Instructions.
Quick Start Guide
3M™ Versaflo™ Powered Air Purifying
Respirator TR-600 Assemblies
Adjust following the user instructions for the specific headgear
'zone'. If not above minimum level, respirator