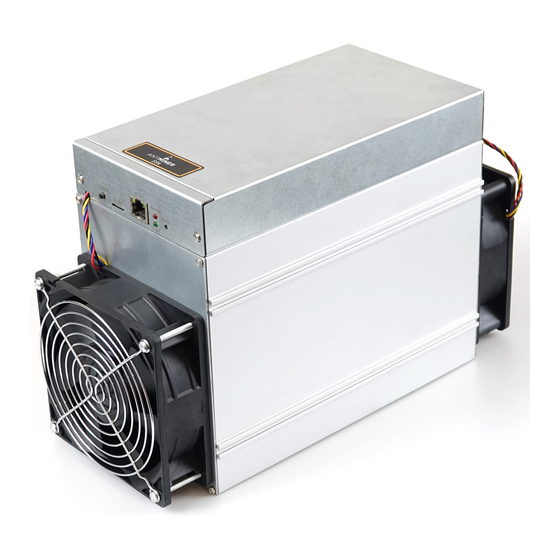
ASIC Bitmain Antminer S9SE Руководство по техническому обслуживанию - Страница 13
Просмотреть онлайн или скачать pdf Руководство по техническому обслуживанию для Настольный компьютер ASIC Bitmain Antminer S9SE. ASIC Bitmain Antminer S9SE 13 страниц.

1. During maintenance, the maintenance personnel must be familiar with the function and flow direction of each test point, the normal voltage value and the
impedance value to ground.
2. Must be familiar with the chip soldering, so as not to cause PCB foaming deformation or pin damage.
3. BM1393 chip package, 16 pins on both sides of the chip. The polarity and coordinates must be aligned during soldering and must not be misaligned.
4. When replacing the chip, the thermally conductive fixing adhesive around the chip must be cleaned to avoid secondary damage of the chip caused by
hanging or poor heat dissipation during IC soldering.
● Note:
1. Since the cooling fin on the back of the chip is connected to the chip, a special slender test lead must be used to detect the test point signal; apart
from the metal exposed at the contact end, the other parts of the test lead must be sealed with a heat shrinkable tube so as to prevent the test lead from
contacting with the cooling fin and the test point at the same time. In particular, the voltage difference between the upper and lower rows of circuit
voltage is large, and will cause damage to the chip when contacting the ground (cooling fin) and test points in different voltage domains, and special
attention shall be paid.
2. In soldering, since there are small cooling gins close to the PCB on the back of the chip, the heat conduction is fast. Therefore, it is necessary to use
the bottom to assist heating (about 200 degrees) in soldering, which can improve the efficiency and reduce the damage to the PCB board. If there is no
bottom heating device, remove the small cooling fin on the PCB on the back of the chip before replacing the chip.
!
Please contact our engineering department in time for new fault types. We will analyze and update this content continuously!
VI. Maintenance Instructions
13
S9k S9SE Maintenance Guide
