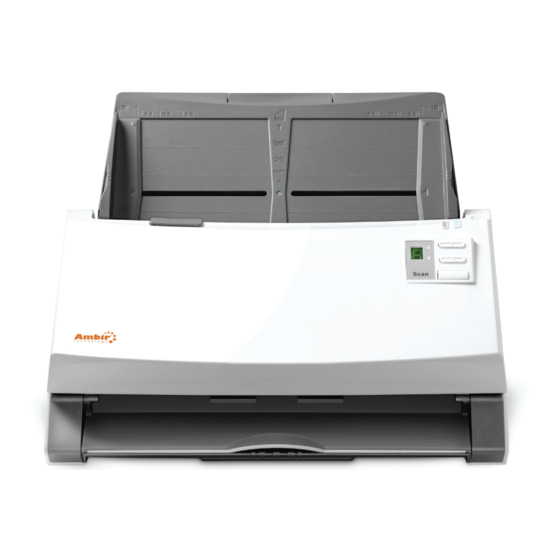
Ambir ImageScan Pro 930u Руководство пользователя - Страница 10
Просмотреть онлайн или скачать pdf Руководство пользователя для Сканер Ambir ImageScan Pro 930u. Ambir ImageScan Pro 930u 13 страниц. High speed document scanner with ultrasonic misfeed detection
Также для Ambir ImageScan Pro 930u: Краткое руководство по эксплуатации (14 страниц)

Ambir ImageScan Pro 930u
Calibration
Calibrate the scanner if colors appear in areas that should be white,
or colors of the scanned image and the original vary a lot. This allows
you to adjust and compensate for variations that can occur in the optical
component over time by its nature.
T
h
e
n i
c
u l
d
e
d
C
i l a
r b
The following describes how to calibrate the scanner:
. 1
n I
s
e
t r
h t
e
s
p
e
c
l a i
arrow pointed toward the scanner buttons.
. 2
C
i l
k c
S
a t
t r
>
A
l l
Wizard.
. 3
C
i l
k c
N
e
x
f t
o r
m
Now....
. 4
C
i l
k c
o
n
h t
e
S
a t
t r
. 5
T
h
e
c s
a
n
n
r e
p
u
s l l
completes thecalibration process. After the calibration is complete, click
OK and then click Finish.
Cleaning the ADF
10
®
t a
o i
n
S
h
e
e
, t
m
a
k r
e
d
i w
h t
a
C
i l a
r b
t a
o i
n
S
h
e
t e
n i
o t
h t
e
P
o r
g
a r
m
s
>
Y
o
r u
c s
a
n
n
r e
h t
e
C
i l a
r b
t a
o i
n
W
z i
a
d r
h t
t a
b
t u
o t
n
o t
b
e
g
n i
h t
e
c
i l a
r b
t a
h t
e
c
i l a
r b
t a
o i
n
s
h
e
t e
h t
o r
n
r a
o r
w
o
n
i e
h t
r e
e
d
g
e
t a
®
930u.
A
D
F
f o
h t
e
c s
a
n
n
e
, r
i w
h t
h t
m
o
d
l e
n
a
m
e
>
C
i l a
r b
t a
o i
p
o
p
s
u
, p
h t
e
n
i l c
k c
C
a
b i l
a r
e t
o i
n
p
o r
c
e
s
. s
u
g
h
h t
e
c s
a
n
n
e
, r
w
h
c i
h
Have the following cleaning materials ready to clean the scanner:
non-abrasive cleaner fl uid: Isopropyl
soft, dry, lint-free cloth
rubbing alcohol(95%)
DO NOT USE WATER
1. Open the ADF cover by pulling the lever.
. 2
G
e
n
y l t
w
p i
e
h t
e
o f
o l l
w
the cleaner. Be careful NOT to scratch their surfaces.
Clean Feed Roller:
Wipe the Feed Roller from side to side and then rotate it. Repeat
this until its entire surface is cleaned.
Clean Pad Module:
Wipe the Pad Module from top to bottom (in the direction of
arrow shown in below picture). Be careful not to damage the
pick springs of the pad.
1. Wait for cleaned areas to dry completely.
. 2
C
o l
s
e
h t
e
A
D
F
c
o
v
r e
back into place.
e
n
n i
g
a
e r
a
s
i w
h t
h t
e
c
o l
h t
d
a
m
b
y
p
u
s
h
n i
g
t i
b
a
k c
d
o
w
n
u
User
Guide
p
e
n
e
d
i w
h t
n
l i t
t i
s
n
a
p
s
p/n UG930u-1.2
