AMD RCS-100 Kullanıcı Kılavuzu - Sayfa 7
Tıbbi Ekipman AMD RCS-100 için çevrimiçi göz atın veya pdf Kullanıcı Kılavuzu indirin. AMD RCS-100 12 sayfaları. Multipurpose camera & scope system

7.9 Connect PC
a) USB disk mode:
Image data transfer method to a PC is similar as with a USB
Stick. When connected to a PC running Microsoft Windows,
the operating system displays optional mode of operation.
It is possible to select an appropriate image viewing program,
or simply open the folder to view and transfer fi les to the PC.
b) UVC mode:
The camera can work on UVC mode.
1) Please activate the UVC-mode in the settings.
2) Open windows system UVC component on computer.
3) Camera connects to the computer by USB cable.
4) Power on the camera.
5) Windows UVC component automatically connect the
camera and display the preview image of the Camera.
Warning:
PC should follow EN 60950-1 standard.
7.10 Wifi -SD
This device only supports TOSHIBA FlashAir Wifi -SD card
(optional) to expand internal storage or support Wlan. You
can also use the TOSHIBA FlashAir center setup guide. More
information about the card can be found in TOSHIBA internet
pages: http://www.toshiba-personalstorage.cn
Warning:
Does not guarantee use of other brands of Wifi -SD/SD cards.
a) Wifi -SD card installation:
Put Wifi -SD card into handset card slot (as shown
below) and push it into place.
b) Use Wifi -SD on handset:
When Wifi -SD is installed, system fi rst saves records on
Wifi -SD until it is full, and then system saves records on
internal storage.
c) PC connect Wifi -SD:
In the PC (with Wifi function) Wifi management page,
select the name of „fl ashair_XXXXXXXXXXX"connection,
and enter the password (initial password 12345678).
19
After the connection is successful, the PC automatically
displays fi le management page, and you can view
captured records that had been saved on Wifi -SD/SD on
the fi le management page.
8
Imaging using optics module otoscope (OT)
The RCS-100 camera with otoscope lens is intended to cap-
ture digital images and videos of the eardrum.
It consists of:
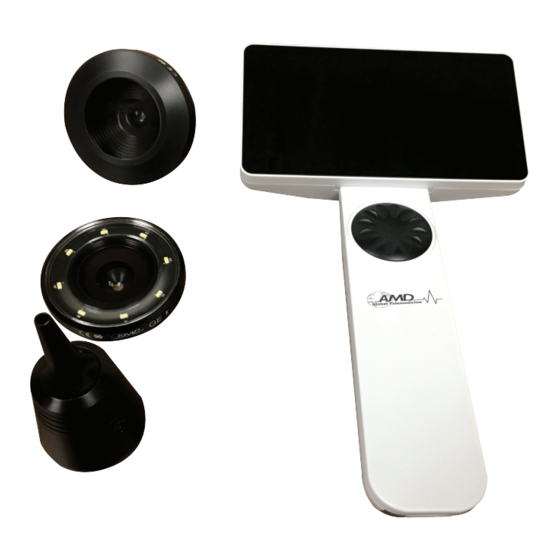
• Camera handset.
• Attachable otoscope module.
• Disposable specula (default Ø 4).
The otoscope supports adjust brightness, manual/auto fo-
cus, left/right ear mode.
The picture brightness can be automatically adjusted by the
system according to the illumination intensity of the subject
in real time, and it can be adjusted manually.
The brightness level can be adjusted manually in 6 steps. Il-
lumination will turn off when the brightness level is at the
lowest level, and it will turn on when the brightness level is
more than the lowest level.
8.1 Steps for eardrum imaging:
1) Connect the infl ation system (when a pneumatic test is
required).
2) Install disposable specula.
3) Tap
to be examined.
4) Tap L/M/H to select the specula,
low (L), medium (M), high (H)
5) The examiner pulls the auricle using one hand to
straighten the ear canal as much as possible, and using
the other hand gently put the lens into the external
auditory canal until the front end of OT reaches the
cartilage site.
6) Tap
to enter adjust brightness
wheel or slide the process bar to adjust brightness of
the picture.
7) Tap
WiFi SD
When
Slot
area where you want to focus, the system will automati-
cally focus according to the selected position.
When
progress bar on the touch screen to complete manual
focus.
8) Tap
a) When photo
To take photos
Tap
to enter picture taking photo mode
• Tap
again or turn the wheel to capture photo.
• When the photo has captured,
to select the left or right ear
function and turn
to select manual/auto focus.
is selected, click on the position in the preview
is selected , turn the wheel or drag the focus
to select a capture mode.
mode is selected:
will change to
.
, and
