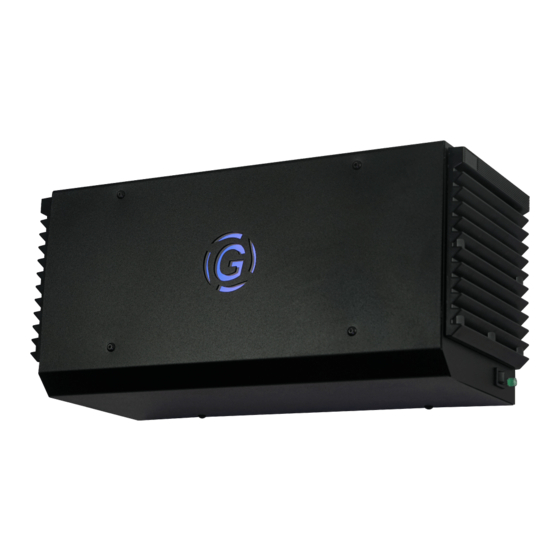
Aerobiotix GermZone 100 Kullanıcı Kılavuzu - Sayfa 7
Hava Temizleyici Aerobiotix GermZone 100 için çevrimiçi göz atın veya pdf Kullanıcı Kılavuzu indirin. Aerobiotix GermZone 100 15 sayfaları.

INSTALLATION
The choice of location for your GermZone® 100 unit is a key factor to its performance. You should
place the unit in the room in which you want to focus your air treatment strategy. Additionally,
the unit should be placed as close as possible to any obvious sources of room air contamination.
Installation tips
• Install the unit on the wall so that furniture or other items do not obstruct it.
• Install the unit sufficiently high to avoid inadvertent contact while leaving clearance to the
ceiling. Consult your local building and fire codes for guidance specific to your area.
• Installation of a 120‐volt AC grounded wall receptacle may be required. If so, have a
licensed electrical professional perform the installation.
CAUTION: Never attempt to plug the unit into an ungrounded receptacle. This could
• Install the unit away from areas where it is likely to get wet, or where objects can be
inadvertently placed on top of or against it.
Installation Instructions
1. Remove the unit from the packaging.
2. Remove the wall mount plate from the back of the unit. You may need to slide the plate
down and pull away from the back of the unit.
3. If installation of a 120‐volt AC grounded wall receptacle is required, ensure the receptacle
is installed sufficiently close to the wall mounting location so the cord can easily be
plugged in without tension on the cord.
4. Place the wall mount plate on the wall at the desired location, ensuring the mounting holes
do not align with interior wall studs and that the plate is level. The wall anchors open
when installed and require 2 inches of clearance from any obstructions inside the wall.
5. Mark the locations of the holes in the wall mount plate on the wall.
6. Place the wall mount plate aside and using a Phillips head screwdriver; drive the wall
mount anchors through the drywall at the marked locations.
7. Install the wall mount plate using the screws provided with the wall mount anchors.
8. Align the mounting holes on the back of the unit with the studs on the wall mount plate.
9. Slide the unit over the studs and gently but firmly pull the unit down until the top of the
unit is aligned with the top of the wall mount plate and the locking tab on the top of the
plate slides over the top of the unit.
10. Plug in the power cord ensuring there are no obstructions and it is not in the path of any
moving objects.
11. Power the unit on.
result in electric shock, injury or death.
Page 7 of 15
OM‐GermZone100‐01 Rev D
