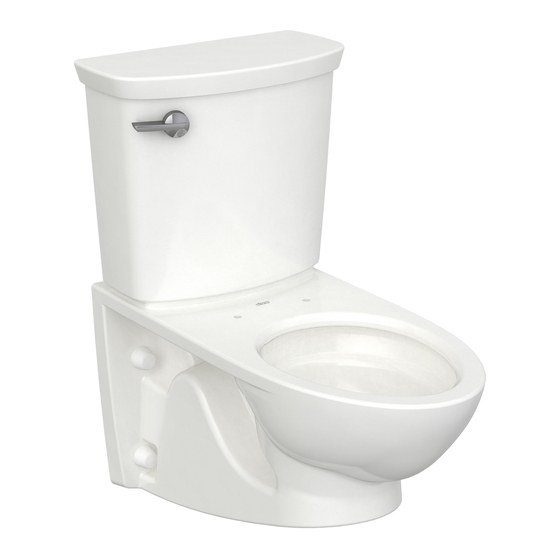
American Standard Glenwall VorMax 2882 Series Kurulum Talimatları - Sayfa 2
Tuvaletler American Standard Glenwall VorMax 2882 Series için çevrimiçi göz atın veya pdf Kurulum Talimatları indirin. American Standard Glenwall VorMax 2882 Series 4 sayfaları. Wall-mounted toilet

2
FIXTURE MOUNTING
Fixture studs should project 58mm (2-1/4") from face of finished wall.
SIDE VIEW
3
Place back-up nuts on both bottom bolts, and the
top left-hand bolt only.
Adjust the two lower back-up nuts
so that front face of nuts and
washers are positioned to allow a
minimum 1/16" (2mm) gap
between fixture and wall surface.
Adjust waste horn to project
5/16" (7mm) from finished wall.
5
NOTE: Bearing nuts and washers must be set to take full loading from the fixture allowing 1/16" (2mm) clearance between fixture and wall.
Wall Carrier and Wall Gasket are not included.
Follow support manufacturer's recommended setting of closet outlet connection.
WASTE OUTLET SEAL RING MUST BE NEOPRENE OR GRAPHITE-FELT (WAX RING NOT RECOMMENDED).
When the fixture is installed, closet outlet gasket must be compressed sufficiently to assure a gas and watertight seal.
THE FOLLOWING STEPS REQUIRE A HELPER:
Install bowl on support using cap nuts and fiber washers with the back-up nuts and washers.
DO NOT APPLY TOP RIGHT FIBER WASHER AND CAP NUT UNTIL OTHER CAP NUTS HAVE BEEN FIRMLY TIGHTENED USING A WRENCH.
Install top right cap nut with fiber washer and run up hand tight. Wrench tighten approximately 1/4 turn.
Apply sealant to gap between bowl and finished wall. Remove excess sealant.
6
Connect water supply line.
(Sold separately)
Hand tighten nut.
GASKETS
Confirm gaskets are fully seated on tank.
WARNING: Overtightening of water supply line nuts could result in breakage and potential flooding. If the connection leaks after hand tightening,
!
replace the supply line. Do not use any type of sealant on the water supply connection. Use of plumber's putty, pipe dope, or any other type of
sealant will void the warranty.
WARNING: Do not use plumber's putty, pipe dope, or any other sealant on the water supply connection to this tank. If the connection leaks after
!
hand tightening, replace the supply line. If the connection continues to leak with the new supply line, replace the fill valve. Warranty is void if any
type of sealant is used on the water supply connection.
FINISHED WALL
2-1/4"
(58mm)
(4) CARRIER BOLTS
CLOSET
CARRIER
SYSTEM
7
Carefully place tank
over bowl while
feeding water supply
line hose through
hole in bowl then
tighten handles
alternately until the
tank contacts the
front and back of
bowl achieving
china-to-china
contact.
4
FINISHED
WALL
Using a level on face of
back-up nuts, adjust
the top left back-up nut
so that it is in the same
(3) NUTS
vertical plane as the
lower left back-up nut.
WASTE
HORN
5/16" (7mm)
- 2 -
FRONT VIEW
8
Securely
connect water
supply line to
Shut Off
Valve.
Turn on
water
supply.
7302395-100 Rev. 1 11/20
FINISHED WALL
1/16" (2mm)
(IRREGULAR
WALL SURFACE)
LEVEL
