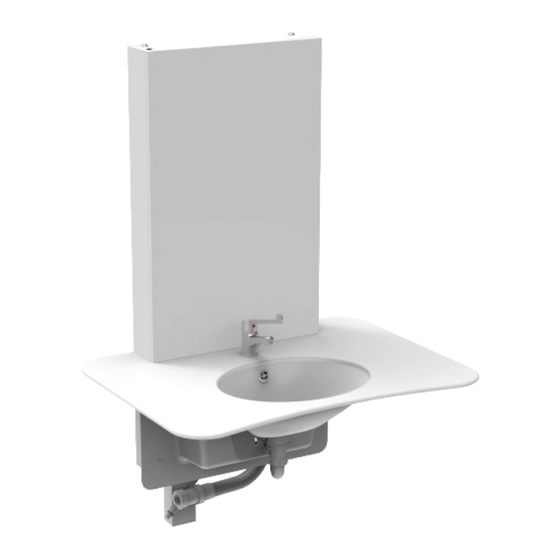
Astor-Bannerman ABW-CP Kurulum ve Kullanım Kılavuzu - Sayfa 7
Yıkayıcı Astor-Bannerman ABW-CP için çevrimiçi göz atın veya pdf Kurulum ve Kullanım Kılavuzu indirin. Astor-Bannerman ABW-CP 13 sayfaları.

• Fit the trunking (the following steps describe how to mark up and drill the trunking so that it
can be fitted over the top of the supply pipes and isolation valves):
o Position the trunking in front of the hot and cold water outlets and with its end
resting on the floor
o Remove and retain the trunking cap
o Mark on the back of the trunking the top of the isolation valves and the bottom of the
supply pipes
o Use these marks to make a hole large enough for the pipes and isolation valves to
pass through
o Remove the backing paper from the self adhesive tape on the trunking
o Place the trunking over the pipes and isolation valves but do not allow the tape to
stick to the wall yet
o Using a level, ensure the trunking is vertical
o Press the self adhesive tape against the wall to secure the trunking
• With assistance, place the rise and fall unit onto the wall ensuring that:
o the two short rails welded to the unit engage with the one on the wall (see Fig 6
below)
o the recess in the underside of the rise and fall unit passes over the trunking
(see Fig 7 below)
• Ensure that the unit is level, then mark the wall through the three attachment points, one on
the upper and two on the lower horizontal beams (see Fig 8, below)
• Remove the unit from the wall and at each of the three marked positions drill a 6mm full-
depth pilot hole
• Open these three holes to accept appropriate fixings
• Fit the fixings into the wall
• With assistance, place the rise and fall unit back onto the wall-mounted rail, ensuring it is
correctly aligned as before
• Fully secure the rise and fall unit to the wall at the three prepared fixing points
Fig 6
Electrical connection:
• Ensure the previously installed mains supply to the junction box on the wall is switched
OFF
• Electrically connect the rise and fall unit to the fused outlet using the unit's three-core
cable. Ensure there is sufficient slack in the cable to allow the unit to rise and fall
• Fit the handset BEFORE switching the power on
Secure the handset to the cable tie mount (see diagram on next page for
•
location of cable tie mount) using the cable tie supplied (see fig 10, p.9)
• Switch on the mains voltage
Check that the Obstacle sensing switch on the arms works properly:
• Operate the lowering function and then lift the right hand arm on the unit to ensure
that the unit stops travelling downwards
• Leave the mains voltage supply switched on
Fig 7
Page: 7
Fig 8
Version 4 : 25-09-019
