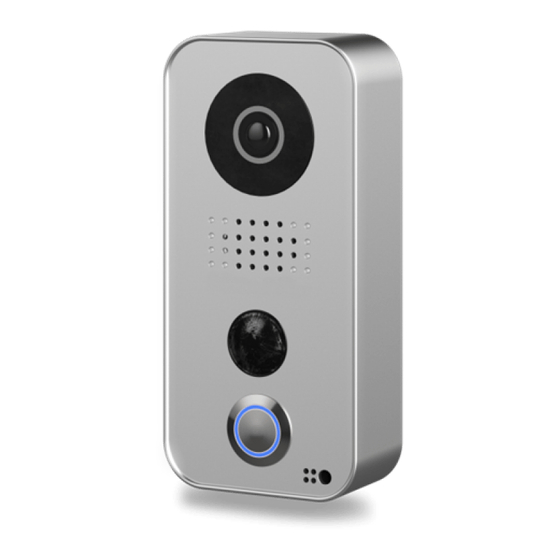
DoorBird D10 Series Bağlantı Kılavuzu - Sayfa 3
İnterkom sistemi DoorBird D10 Series için çevrimiçi göz atın veya pdf Bağlantı Kılavuzu indirin. DoorBird D10 Series 6 sayfaları. Connect synology

DoorBird Connect
Synology
6.
Click on
"Load Capability"
If all the values were entered correctly, a green check mark should appear. If not, please make sure
you entered all the values correctly and try again.
7.
Click on
"Test Connection"
everything is setup correctly, a green check mark should appear. If not, please make sure your
DoorBird IP Video Door Station is active and set up correctly.
8.
Click "Next".
9.
Leave all video settings at their default values and again click "Next".
10.
Either change the recording values to match your personal requirements or simply leave them at
their default values. Click "Next".
11.
If your DoorBird IP Video Door Station supports continuous recording, edit the schedule settings
to your preference or simply leave them at their default values. If your DoorBird IP Video Door
Station does not support continuous recording, or if you prefer using event-based recording,
proceed to step 3.1.
Otherwise, click
"Next"
Station.
3. SETTING UP EVENT-BASED RECORDING IN THE SYNOLOGY NVR
Note:
for security reasons it is advised to activate HTTPS in your Synology NVR to allow for encrypted
communications between your Synology NVR and your DoorBird IP Video Door Station. Please refer to the manual
of your Synology NVR for instructions on how to activate HTTPS.
1.
On the schedule screen of the setup wizard, click the
arrow symbol at the top left of the schedule area to clear the schedule.
2.
Click
"Next"
and then
3.
From the main menu, select
4.
Here, click
"Add"
to add a new action rule.
5.
Enter a fitting name for the type of event, e.g.
type"
at their defaults. Click "Next".
All companies, logos and product names are registered trademarks of the respective companies.
Errors and omissions excepted – Last Update 10/2020 - Copyright © 2020 - Bird Home Automation GmbH – www.doorbird.com
to make sure the DoorBird IP Video Door Station is discovered correctly.
to test the video stream of the DoorBird IP Video Door Station. If
and then
"Finish"
to complete the setup of your DoorBird IP Video Door
"Finish"
to complete the setup wizard.
"Action
Rule".
"Delete"
button and then click the little
"Doorbell"
and leave both
3
"Rule type"
and
"Action
