Canon PIXMA MP500 Tamamlayıcı Kılavuz - Sayfa 4
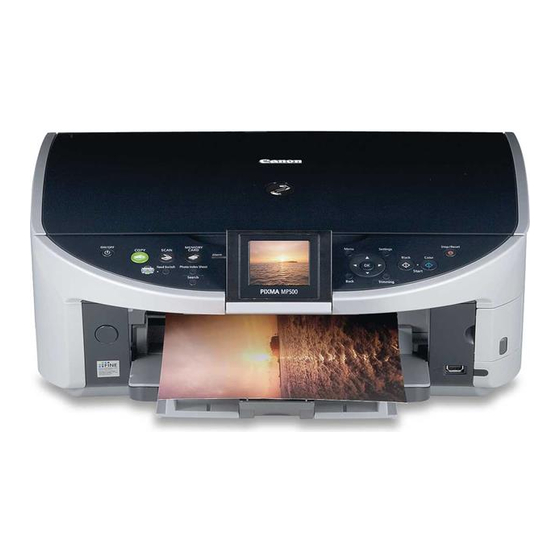
Hepsi Bir Arada Yazıcı Canon PIXMA MP500 için çevrimiçi göz atın veya pdf Tamamlayıcı Kılavuz indirin. Canon PIXMA MP500 6 sayfaları. Continuous ink supply system
Ayrıca Canon PIXMA MP500 için: Şartname Sayfası (2 sayfalar), Buradan başlayın (2 sayfalar), Hızlı Başlangıç Kılavuzu (39 sayfalar), Kurulum Talimatı (9 sayfalar), Hızlı Başlangıç Kılavuzu (2 sayfalar)
You have many ways to print photos with a SELPHY – 1
B
,
D
Select the paper size and
layout you want for your prints.
1
Select [Paper Settings]
2
Select paper size
3
Press the FUNC./SET button
4
Select layout
A
Print using the set-up on the printer
B
With borders
C
Borderless
D
Print multiple photos on one sheet
E
Print ID photos
F
[Fixed Size] Select print size
*
[ID Photo] can only be selected when the images were shot in the
camera's L (Large) recording pixel setting.
*
[Fixed Size] can be selected in L, Postcard, and Wide size only.
E
B
When [Default] is selected,
*
printing uses the set-up on
the printer.
Manage your photos with dates and numbers.
Better prints with special print effects.
Select number of prints to share with friends.
G
1
2
Select [Trimming]
*
Images smaller than 640X480 cannot be trimmed.
*
Trimming photos with embedded dates may not show
the dates properly.
Personal Printing Guide
G
Date and photo
number
H
Special print effects
H
I
Number of prints
*
When photos were taken with dates
embedded, select [Off] for
.
Trim images for
better looking photos.
Set printing area
• To change size of frame: use Zoom
lever or Zoom button
• To move frame: use
• To rotate frame: press [DISP.] or [SET]
button, or use the Control Dial*
• Set trimming area: press [SET] or
[MENU] button*
*
Operation differs depending
on camera models. Follow the
instructions shown on the bottom
part of the screen.
buttons
4