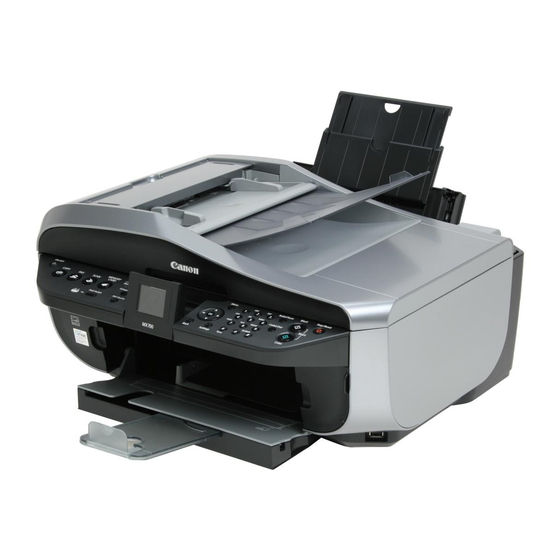
MX700
3. REPAIR
3-1. Notes on Service Part Replacement (and Disassembling / Reassembling)
Service part
Logic board ass'y (QM3-
2834)
Absorber kit (QY5-0192)
Carriage unit (QM3-
2650)
Paper feed motor (QK1-
3849)
Spur base unit (QM3-
2664)
Notes on replacement
- Before removal of the logic
board ass'y, remove the power
cord, and allow for approx. 1
minute (for discharge of
capacitor's accumulated
charges), to prevent damages to
the logic board ass'y.
- Before replacement, check the
ink absorber counter value (by
service test print or EEPROM
information print).
[See
3-4. Verification Items, (1)
Service test print
for details.]
- The screws securing the
carriage rail are allowed to be
loosened only at carriage
replacement. Before removing
the screws, mark the positions
of the screws on the carriage rail
so that they will be returned to
their original positions after the
carriage is replaced.
- The red screws securing the
paper feed motor are allowed to
be loosened only for paper feed
motor replacement. (DO NOT
loosen them in any other cases.)
*1
Adjustment / settings
After replacement:
1. Initialize the EEPROM.
2. Set the destination in the
EEPROM.
3. Set the ink absorber counter
value.
4. Set the language to be
displayed on the LCD.
[See
3-3. Adjustment /
Settings, (10) Service
for details of 1 to 4.]
5. Perform print head alignment
in the user mode.
After replacement:
1. Reset the ink absorber
counter.
[See
3-3. Adjustment /
Settings, (10) Service
for details.]
At replacement:
1. Apply grease to the sliding
portions.
[See
3-3. Adjustment /
Settings, (6) Grease
application, for details.]
After replacement:
2. Adjust the distance between
the print head and the paper
(between the carriage rail and
the platen).
[See
3-3. Adjustment /
Settings, (2) Carriage rail
adjustment, for details.]
3. Check the ink system
function.
[See
3-3. Adjustment /
Settings, (10) Service
for details.]
4. Perform print head alignment
in the user mode.
At replacement:
1. Adjust the paper feed motor.
[See
3-3. Adjustment /
Settings, (1) Paper feed motor
adjustment, for details.]
After replacement:
1. Check the ink system
function.
[See
3-3. Adjustment /
Settings, (10) Service
for details.]
15 / 41
TABLE OF CONTENTS
Operation check
- EEPROM information print
- Service test print
- Printing via USB connection
- Copying
- Direct printing from a digital
camera (PictBridge)
mode,
- Ink absorber counter value
print (Printing is performed
automatically after the ink
absorber counter is reset.)
mode,
- Service test print (Confirm
ink system function.)
- Printing on thick paper.
mode,
- Service test print
mode,

