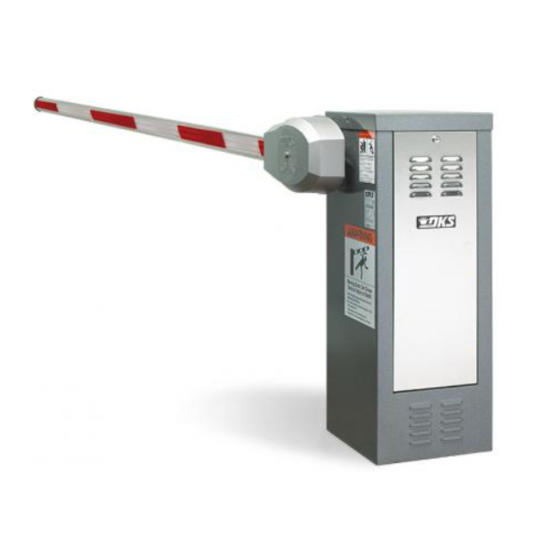
DoorKing 1601 Series Kurulum Kılavuzu - Sayfa 4
Otomatik Bariyerler DoorKing 1601 Series için çevrimiçi göz atın veya pdf Kurulum Kılavuzu indirin. DoorKing 1601 Series 11 sayfaları. Break-away octagon arm installation kit
Ayrıca DoorKing 1601 Series için: Kullanıcı El Kitabı (8 sayfalar), Manuel (5 sayfalar)

Install Harness (1601-356)
Choose which side of the operator the arm is mounted on,
remove knock-out and run wire harness accordingly as shown.
Cable Run Options
O p
Cable Grip
Cable Grip
IMPORTANT: Allow slack in the
wire harness between the cable
grips of at least 13" or more
for the rotating arm.
Harness Bracket
Attachment
Attach wire harness connector on
bottom of bracket as shown.
1601-269-G-7-21
F a r
S i d
e
t i o
K n
o c k
n
- O u
See page 7 for
arm connection
options.
Note for Older Operators: A 5/8"
hole will have to be drilled in the
operator cabinet approximately
where Knock-Out is shown. Make
sure 5/8" hole is clear of all
internal components.
R e
n a l
t i o
O p
Option #1
Breakaway
See page 7 for arm connection options and securing wires to bracket.
N e
a r
S i d
e
O p
t i o
K n
o c k
t
Wiring to operator:
See page 8.
g e
E d
s e
v e r
Breakaway
Sensors
Attach wire harness connector on
bottom of bracket as shown.
Sensors
4
Cable Grip
n
Cable Grip
- O u
t
IMPORTANT: Allow slack in the
wire harness between the cable
grips of at least 13" or more
for the rotating arm.
Spacer MUST be in
position when installing a
Optional reverse edge.
See page 10.
Option #2
DoorKing Part Number
1601-295
See page 7 for
arm connection
options.
g e
E d
s e
v e r
R e
n a l
t i o
O p
