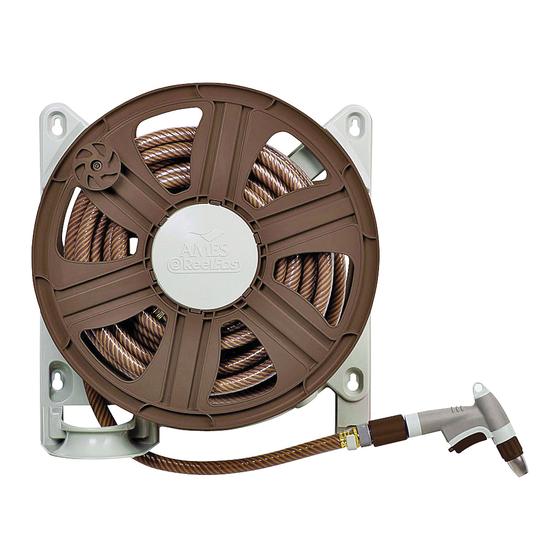
AMES 2388340 Kullanım Talimatları - Sayfa 2
Araçlar AMES 2388340 için çevrimiçi göz atın veya pdf Kullanım Talimatları indirin. AMES 2388340 3 sayfaları. Wall mount hose reel
Ayrıca AMES 2388340 için: Kullanım Talimatları (2 sayfalar)

2388340
Wind
Water Tube
Hose Guide
Garden Hose
180˚
CAUTION:
Freezing temperatures can damage your hose
and watering accessories. Always disconnect
the connector hose and drain the water from
the hose prior to freezing conditions.
© 2020 The AMES Companies, Inc.
1-800-393-1846, www.ames.com
Limited Warranty
The AMES Companies, Inc. warrants to the original purchaser only of the accompanying product that such product will be free from defects in material and workmanship for 2 years from the date of purchase. Contact customer
service at [email protected] or 1-800-393-1846. Damage to the product caused by accident, misuse, abuse, unauthorized repair, or use in other than normal home or personal use or private non commercial use, is not
covered by this limited warranty. The AMES Companies, Inc. shall not be liable for incidental or consequential damages, for breach of any express or implied warranty, but some states or provinces do not allow the exclusion or
limitation of incidental or consequential damages, so to the extent that they do not, the above limitation may not apply to you. This warranty gives you specific legal rights and you may have other specific legal rights, which vary
from state to state and province to province.
MOUNTING INSTRUCTIONS
1. Select a wall location that will allow the Connector Hose (9) to be attached to a faucet.
16 inches
2. Mounting holes in the Base Frame (1) are spaced 16 inches side to side in the diagonal mounting
position to align with vertical mortar joints for block and most studding. The upper and lower holes in
the base frame can be used for post mounting also as shown at left.
3. The mounting holes are sized to work with #14 or 1/4" hardware. The #14 x 1-1/2" wood screws
included may be used on wood sheeting. For composition sheeting or different stud spacing hollow
wall anchors* are recommended. Expansion anchors* with 1/4" machine screws* are recommended for
block and brick.
4. Be sure that the connector hose is nested in the channel provided in the back of the base frame. Hold
the hose reel in the desired location on the wall and mark the mounting hole locations through the base
frame onto the wall.
14 inches
5. After pilot holes or anchors are in place, insert the fasteners part way into the wall. Hang the hose reel
on the fasteners by passing the large opening in the keyhole-shaped mounting holes over the fastener
head and sliding the unit downward.
6. Tighten the fasteners.
* Available at any hardware store.
LOADING HOSE ONTO THE REEL
1. Lay the garden hose to be loaded out straight, removing any kinks.
2. Bring the female end of the hose up through the hose guide in the base frame. Screw the hose fitting
onto the water tube as shown, and wind the hose clockwise onto the reel.
USING YOUR HOSE REEL
1. The hose guide is designed to allow hose to be pulled from or wound onto the reel in any direction
within a full 180˚ arc as shown.
2. After unwinding hose, attach a watering accessory to the end of the hose if desired, and turn on the
water at the faucet.
3. When finished watering, turn off the water at the faucet. Allow water to drain from the hose by removing
any watering accessory. Rewind the hose.
Hose Gasket
Connector Hose
MAINTAINING YOUR HOSE REEL
1. Drain water out of hose and Connector Hose (9) completely prior to periods of freezing weather or winter
storage.
2. Always release water pressure by removing any watering accessory when reel is not in use.
3. Water system assembly is pre-lubricated. "O" rings should be lubricated annually. Lubricate the "O" rings
as follows:
a) Place the hose reel down on the knob side.
b) Remove the four screws fastening the Retaining Ring (2) to the reel as shown. It may be necessary to
rotate the reel slightly to access all four screws.
c) Pull the water pipe out of the Water Tube (4), exposing the "O" rings.
d) Lubricate the "O" rings generously with grease or petroleum jelly and reassemble.
Water Pipe
O-Rings
Retaining Ring
