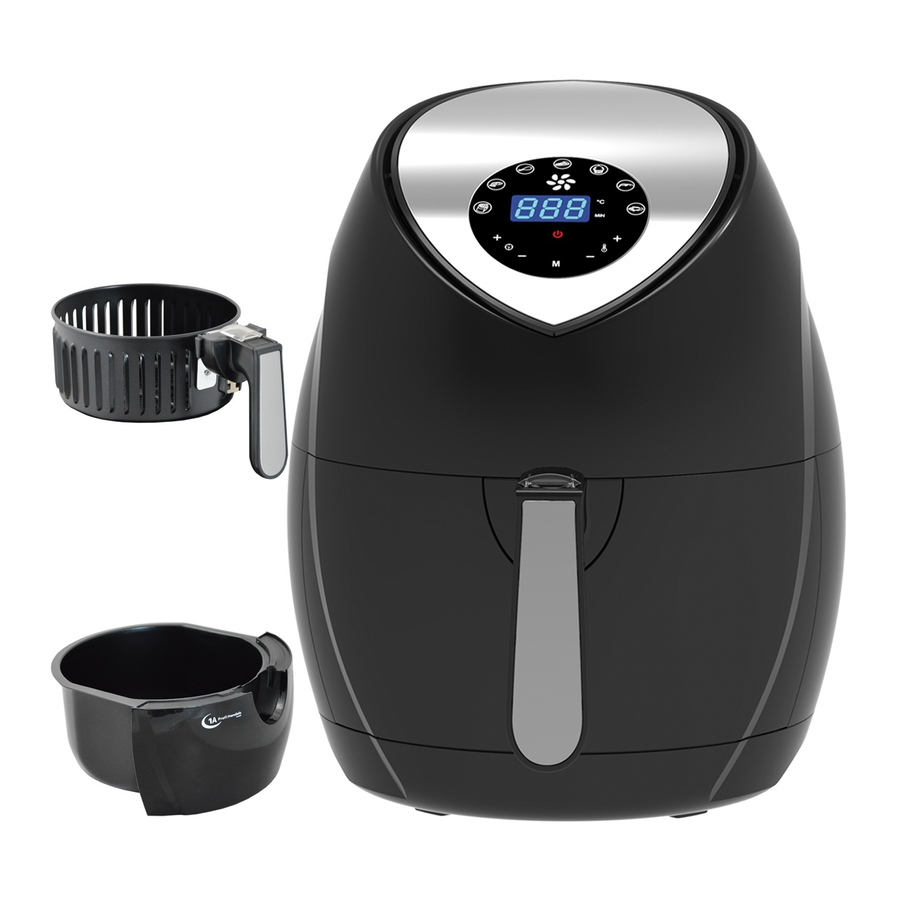
1A Profi Handels Grill ECO AIR-PROFI SOUP DC-1400W Kullanım Talimatları Kılavuzu - Sayfa 3
Ekmek Yapma Makinesi 1A Profi Handels Grill ECO AIR-PROFI SOUP DC-1400W için çevrimiçi göz atın veya pdf Kullanım Talimatları Kılavuzu indirin. 1A Profi Handels Grill ECO AIR-PROFI SOUP DC-1400W 9 sayfaları. Hot air multi fryer & bread machine
Ayrıca 1A Profi Handels Grill ECO AIR-PROFI SOUP DC-1400W için: Kullanım Talimatları Kılavuzu (15 sayfalar), Kullanım Talimatları Kılavuzu (20 sayfalar), Kullanım Talimatları (2 sayfalar)

4 English
5. operation
Pre-heat the appliance without any ingredients inside for 10 minutes when using it for the first time use.
l Place the appliance on a stable, horizontal surface. Make sure the power cord is placed at a good distance from
the socket. Place the appliance away from hot surfaces and any combustible material as shown in this diagram.
l Assemble the appliance depending on your needs using relevant accessories. See diagrams below.
l Use a tong when cooking or removing food from the appliance. If necessary, use anti-scald gloves when handling
the hot appliance. Do not use bare hands when removing food from the appliance.
grate (optional)
stirring paddle
cooking pan
cooking pan
accessories
rice, vegetable, meat cooking mode
assembling Parts:
l rice/vegetable/meat
cooking mode.
stirring paddle
Firstly assemble the stirring
paddle with the fixing part
together. Then fix the stirring
paddle set to the cooking
fixing part
pan, do clockwise rotation
till it is tight.
l Fry/bake/broil mode.
Take out all the cooking accessories from the cooking pan. Place the basket
directly on the pan as shown in the diagram.
basket
sealing lip
sealing ring
fryer pan
accessories
accessories
steam, soup cooking mode
fry, bake, broil mode
embossed part
basket
fryer pan
fry, bake, broil mode
l Steaming/cooking soup mode.
Put the embossed part of
sealing lip to the carven
part of the pan. Rotate
clockwise.
Please use special gripper to carefully remove the basket after cooking
then place it on a stable horizontal surface. Use a gripping tong to take
out the cooked foods.
Please be careful when taking food out of the appliance. Place it on a
horizontal surface to avoid being burnt by hot oil dripping from the
pan/basket. always unplug the appliance after you have finished
using it. Wait till it has cooled down before moving it.
carven part
6. SettinG
l Please connect the main plug to an earthed wall socket when all cooking ingredients are ready. Close the lid. The
appliance will be on standby once you hear a beep sound. Press "On/Off" when the LCD shows a short horizontal
line. After that select the necessary time and temperature. Then press the key "On/Off" to switch on the appliance.
l On the interface of "timer/temperature" press function displaying "+/-" to select cooking mode (i.e. fry, bake, broil,
steam etc.). Thereafter, select the type of food e.g. chicken, fish, meat, vegetables etc. and then press "On/Off" to
automatically start the appliance.
l A prolonged "beep" signifies that the appliance has finished cooking. However, the fan of the motor will to work for
the next 60 seconds. This helps cooling the appliance.
l If you need to add seasoning or additional ingredients during cooking, simply open the lid and add directly.
l If no operation is selected 30 minutes after cooking, there will be a long "beep". The appliance then goes in stand-
by mode.
l You can stir when the appliance is in any mode other than "child lock" by simply pressing the "stir" button. The
appliance will be in stirring mode and the light on stirring will be on. To turn off stirring, simply press the stir button
once more.
l Timer/Temperature Setting
1.) Timer: press the temperature/timer key. The time indicator will be twinkling on the
to adjust time then press "On/Off" to confirm. Instead of pressing +/-, you can simply wait for 3 seconds and the
selection will automatically confirm.
accessories
2.) Temperature: press the temperature/timer key. The temperature digit will be twinkling on the LCD. Set your
desired temperature by pressing the "+/-" key. Press "On/Off" to confirm the selected temperature. Alternatively,
you can simply wait for 3 seconds and the set temperature will be automatically confirmed.
sealing lip
embossed part
sealing ring
gripper
basket
LCD. Press the "+/-" key
English 5
carven part
