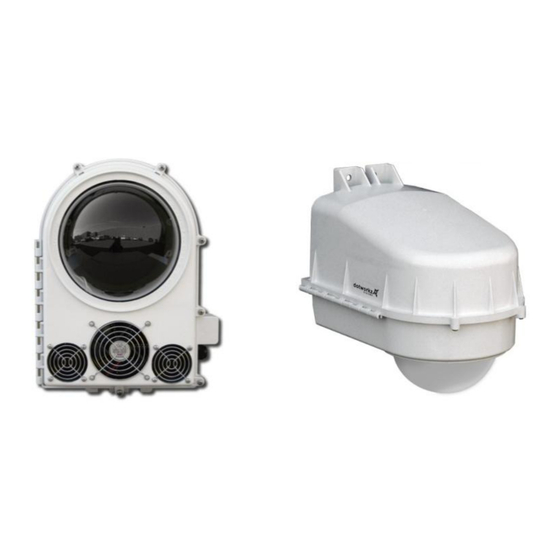
DOTWORKZ COOLDOME 12 VDC Kurulum Kılavuzu - Sayfa 14
Güvenlik Kamerası DOTWORKZ COOLDOME 12 VDC için çevrimiçi göz atın veya pdf Kurulum Kılavuzu indirin. DOTWORKZ COOLDOME 12 VDC 16 sayfaları.

COOLDOME™ Input Power Configuration: ST-CD-12VDC
Warning!!!:
COOLDOME Enclosure runs on 12 VDC only! If high voltage is applied directly to COOLDOME™
enclosure, you will damage housing, void warranty, and create electrocution hazard that can be harmful or fatal.
Do not start wiring until you have fully read and understand these installation instructions.
External Power Supply
The output of the S-250-12 external power supply, can be adjusted up and down 10%. It is recommended to keep
the voltage at the S-Type adjusted to at least 11.5 vdc, but no more than 13.5 vdc. By running the enclosure higher than 13.5
vdc may cause premature fan failure. It is best to check and tune the voltage at the COOLDOME™ with a voltage meter at
the time of installation, and use the adjustment screw, located on the S-250-12, to the right side of the terminal screws, to
raise or lower the output voltage.
For all outdoor wiring, always use an outdoor rated wiring, or wiring in weather rated conduit, out from power supply,
into the COOLDOME™ . Follow all local and applicable wiring and safety standards.
Please keep D/C wire runs short, to reduce low voltage line drop. Also, the suggested wiring gauge table is
provided on previous page to further prevent low voltage line drop, and to guide you in selecting the proper wire gauge for the
dc run from the power supply to the ST-CD.
It is always advisable to use a drip loop on all wiring going directly into the ST enclosure, to reduce the risk of water
entering and damaging internal components. All fittings and seals must be firmly tightened and sealed, before placing the ST-
CD in service.
Inside the ST-CD we have provided a convenient Screw cage clamp style terminal blocks to wire the 12 vdc positive
(V+), and the 12 vdc Negative (V-) terminal. Please strip the insulation off the last 3/8" of the wires and fasten wiring securely
to terminal, using a small blade screwdriver to tighten the caging mechanism on the terminal blocks.
Please be especially attentive to wire using the Proper Polarity, so as not to damage the internal components, or
damage your camera within.
LOW VOLTAGE RUN: Voltage Drop Table (shown on prior page)
Where we conservatively try to keep the voltage drop under 1.2 vdc over the low voltage direct current run. These multipliers
are approximate, and voltage drop (Vd) is maximum at full 12 amp load at 12 vdc. This voltage drop is under fully loaded condition, when
the cooling unit is engaged, and camera and all accessories are on. Voltage drop will be much less, if the current is not at full load.
Power Supply Specifications
Input Voltage: 90-132VAC/ 176-264VAC Selected by Switch
Frequency Range: 47- 63 HZ
Input Current @ Full Load(Typ.): 4A @115VAC, 2A @230VAC
Recommended Min. Circuit Breaker for 110VAC In: 10 A (type C)
Int. Electrical. Working Temp*: -20 ~ +70C
Ext. Power Supply Output: 18A @ 12VDC up to 50C
Derate 0.5A/ deg. C over 50C
Reusable Desiccant Canister
buildup inside the COOLDOME™ . Make sure to remove the canister from its foil envelope packaging
before the COOLDOME™ is put to use.
Occasionally, especially in humid environments, the canister may need to be serviced. If so, the crystals in
the window turns pink, indicating the silica gel is saturated with moisture and can be reactivated by being
placed in an oven at 300 °F for three hours or until the crystals turn blue again. The gel can be reactivated
virtually an infinite number of times.
The reusable desiccant canister contains forty grams of silica gel. This will prevent moisture
There is a small window on the canister (white circle). Ensure that the crystals are blue.
COOLDOME™ Specifications
Current Draw by COOLDOME @ 12VDC:
Active Cooler OFF: 0.4A/ Active Cooler Peak On: 10.5A
Active Cooler On Typ.: 9.0A/ (Cam. Draw Not Incl.)
MTBF: 238.9Khrs min. MIL-HDBK-217F(25C)
12
