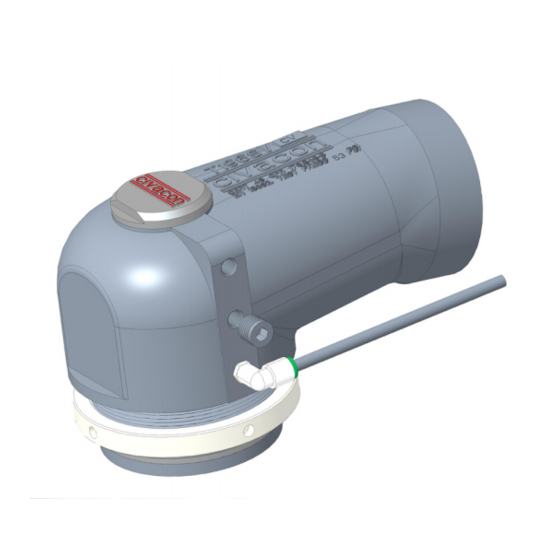
Dover OPW CIVACON T196SV-CV Kullanım ve Bakım Kılavuzu - Sayfa 2
Endüstriyel Ekipmanlar Dover OPW CIVACON T196SV-CV için çevrimiçi göz atın veya pdf Kullanım ve Bakım Kılavuzu indirin. Dover OPW CIVACON T196SV-CV 2 sayfaları. Crude vapor recovery vent

Semi-Annual Inspection
Visually inspect and test the vent for proper operation. This inspection can
be done without removing the vent from the trailer. Follow all safety
procedures.
Visual Inspection
1. Poppet gasket surface and poppet gasket condition to be visually inspected
with poppet in extended position. See Figure 1
2. If gasket shows sign of damage, gasket should be replaced and vent rebuilt.
See Rebuild Procedures
3. Contact Civacon at (888) 526-5657 for seal replacement kit (PN: T196SV-CVRK)
Non-sequential applications:
Install the provided 1/8 NPT plug in the sequential port.
3
1
5
8
11
10
9
14
13
Figure 1
Lubricant to be applied to these areas of
the valve: Note: All O-rings to also be
lubricated. (recommended lubricant,
2
4
Dow Corning111, Molykote 33)
Use Anti-Seize on nut
before installing
T196SV-CV Crude Vapor Vent Rebuild Procedure
1. Review
Figure 1
before starting rebuild
2. Remove cap 11672 (1) and O-ring 11692 (2)
3. Remove piston 11772 (3) and O-ring 11776 (4)
4. Using 9/16" socket remove bolt 12532 (5). Be careful upon removal, spring is
under pressure from bolt
5. Remove spring 11694 (8)
6. Remove poppet (13) from housing and replace gasket 12007 (9) and o-ring
12503 (14)
7. Remove o-ring 10681M (10) and, clean out bore and o-ring grooves if needed
8. Install new o-ring 10681M (10) and apply lubricant throughout bore and
o-rings
9. Insert spring 11694 (8)
10. Fasten bolt 12532 (5) to poppet shaft. Using a 9/16 socket on the bolt side
and wrench holding the flats on the bottom side of the poppet. Tighten bolt
to 22 ft-lb
11. Insert new piston 11772 (3) with Lubricated O-rings 11776 (4)
12. Install O-ring 11692 (2) and cap 11672 (1)
13. Replace o-ring H20124M (11)
14. Replace exhaust port air tube with new tubing approx. 5" long
15. Test vent operation by cycling the vent open and closed by applying air to
inlet port
Exhaust Port Caution: Exhaust port must not be allowed to be sub-merged in
water and port must remain free of obstructions. The fitting shall be installed in a
horizontal or a decreasing angle as provide from the Civacon factory. The exhaust
tube opening should not be allowed to rest on the manhole cover. The tube should
be overhanging the man-hole assembly.
Alternate exhaust configurations: If you believe that the exhaust tube may be
submerged in water at times due to inadequate drainage we recommend daisy
chaining all exhaust ports together and locate the exiting tube where it will not
be restricted (i.e. midway down the back of the tank).
