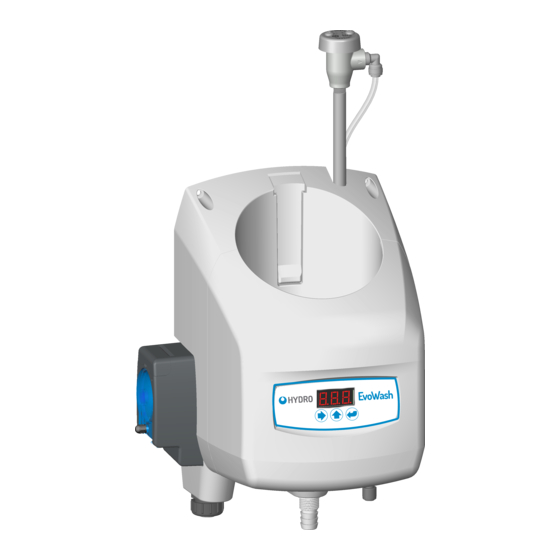
Dover HYDRO EvoWash Hızlı Başlangıç Kılavuzu - Sayfa 9
Dağıtıcı Dover HYDRO EvoWash için çevrimiçi göz atın veya pdf Hızlı Başlangıç Kılavuzu indirin. Dover HYDRO EvoWash 19 sayfaları.

operation (continued)
User Mode Menus (continued)
Menu 11: Rack Count Menu
•
At the Idle Home Screen press the Next key to move to Menu 11.
•
Press the Enter key to display the number of racks washed (divided by ten). For example, 7,324 racks will display as 732.
•
Press the Enter key again to return to Menu 11, or press the Next key to move to the RAM Check.
•
At the RAM check screen press Enter to test the RAM memory. A "1" will display if the RAM memory passes the test.
•
Press the Next key to move to the 'Max Det Time' screen, which displays the longest time (in seconds) the detergent feed
has had to run to satisfy the set point. (Make note of this time, and see the Troubleshooting section for more information.)
•
Press the Next key again to return to the Rack Count display, where you can press Enter to return to Menu 11.
NOTE: If not stopped manually, either prime function below will stop automatically after 30 seconds.
Menu 12: Detergent Prime
•
At the Rack Count Menu (Menu 11) press the Next key to move to Menu 12, Detergent Feed Prime.
•
Press and release the Enter key to start the detergent feed.
•
Press and release the Enter key again to manually stop the detergent feed and return to Menu 12.
Menu 13: Rinse Prime
•
At the Detergent Feed Prime screen (Menu 12) press the Next key to move to Menu 13, Rinse Pump Prime.
•
Press and release the Enter key to start the Rinse pump.
•
Press and release the Enter key again to manually stop the rinse pump and return to Menu 13.
Menu 14: De-scaling Menu
•
At the Rinse Pump Prime screen (Menu 13) press the Next key to move to Menu 14. the De-scaling Menu.
•
Press and release the Enter key to start the 600 second De-scaling countdown.
•
Press and release the Enter key again to manually abort the De-scaling countdown and return to Menu 14.
NOTE: The controller/dispenser does not do anything during the 10 minute countdown, it simply ignores detergent and rinse
signals to avoid wastefully dosing detergent and rinse aid while the operator is performing maintenance.
Live Conductivity Display (if enabled - only available in Probe Mode)
•
At the De-Scaling Menu (Menu 14) press the Next key to move to the Live Conductivity display, if it has been enabled.
(See section 4.04 in the Program Menu instructions for Menu 32.2)
•
Press the Next key again to return to the Idle Home Screen. If the Live Conductivity display was not enabled, you would
have returned to the Idle Home Screen when you pressed the Next key on the De-Scaling Menu (Menu 14).
•
NOTE: When the Live Conductivity display is visible, the menu will NOT return to the Idle Home Screen after 30 seconds.
Alarms (Probe Mode Only)
Low Detergent Alarm (Flashes the lower line of each digit in the display and beeps in three sets of three beeps.)
•
The visual and audible low detergent alarm occurs if the conductivity is below the set point, and the detergent feed
activates, but after a user-defined number of racks (the Low Detergent Alarm Delay), the conductivity has not increased.
•
The low detergent alarm will automatically reset if the controller senses an increase in conductivity in the wash tank before
the Detergent Overfeed Stop Alarm occurs.
Detergent Overfeed Stop Alarm (Flashes the lower lines and right
•
If a low detergent alarm condition continues for twice the user-defined number of racks in the Low Detergent Alarm Delay,
with no increase in conductivity, the visual and audible Detergent Overfeed Stop Alarm will occur and the detergent feed
will be stopped until the alarm is manually cleared.
•
When the issue causing the Detergent Overfeed Stop Alarm is resolved (such as installing a new container of detergent or
cleaning the conductivity probe), the alarm can be manually cleared by pressing any of control keys (Next, Scroll or Enter).
0
in display and beeps sets of three beeps continuously.)
9
