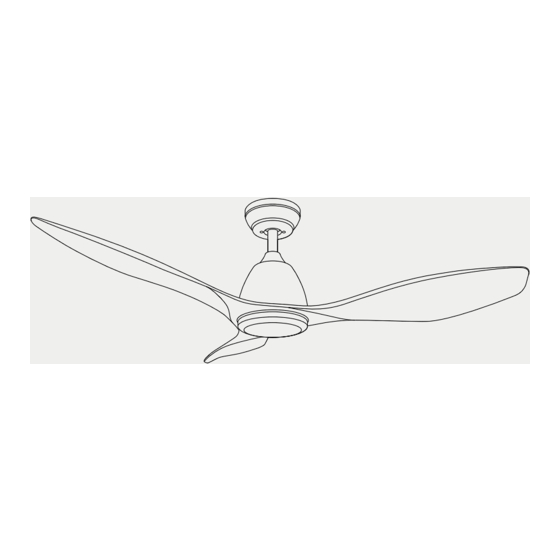
amphis 109001BB Kurulum Kılavuzu - Sayfa 4
Fan amphis 109001BB için çevrimiçi göz atın veya pdf Kurulum Kılavuzu indirin. amphis 109001BB 8 sayfaları. 3 blade ceiling fan

L U N A – I N S T A L L A T I O N M A N U A L
M O U N T I N G B R A C K E T I N S T A L L A T I O N
NOTE Do not install mounting bracket if ceiling is leaking or damp. The ceiling must be able to
withstand the weight of at least 40kg.
Expansion Screw
Fig ure 2
Wooden Screws
Wooden Ceiling
Fig ure 3
C E I L I N G F A N I N S T A L L A T I O N
1 Loosen the two screws of the fan body. (Fig. 4)
2 Take off the plug from the down rod by removing the R pin. Slide the down rod through the
canopy and connector. Slide the fan body electrical wire through the down rod. Sit the down rod
into the fan body and rotate the down rod until the holes on the down rod align with the holes
of the fan body. Slide the plug through the holes and secure it with the R pin on the other side.
Finally, tighten the other two screws. (Fig. 5)
3 Place the down rod with hanger ball into the mounting bracket. Rotate the hanger ball (or fan
Loose Screws
Fan Body
1 Concrete Ceiling Drill two holes with an appropriate
depth using an 8mm diameter drill bit and insert one
expansion screw (not supplied) to each hole. Fix the
mounting bracket into the expansion screws, and tighten
it with the nuts of expansion screws. (Fig. 2)
2 Wooden Ceiling Fix the mounting bracket to the wooden
ceiling with four wooden screws. The thickness of wooden
ceiling must be at least 7cm. (Fig. 3)
Canopy
Connector
Plug
R Pin
4
Hanger
Ball
Mounting
Bracket
Card Slot
Card Point
