Downeaster 3035 Kullanım Kılavuzu - Sayfa 2
Ölçüm Cihazları Downeaster 3035 için çevrimiçi göz atın veya pdf Kullanım Kılavuzu indirin. Downeaster 3035 2 sayfaları. Speed & direction w/”tru-gust”

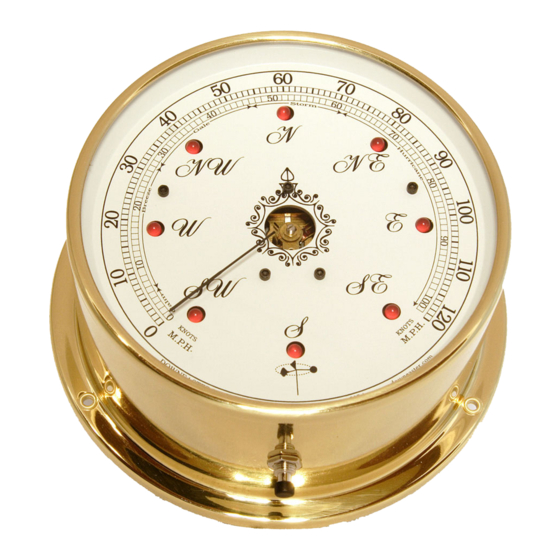
Wind Speed & Direction with "Tru-Gust"
-Medallion Series (#3035)-
Follow these installation instructions
carefully to insure proper operation and
prevent premature failure of the
instrument. The roof-top transmitters
should be mounted on the
peak of the roof where they
will receive the greatest
exposure to the wind. Keep
away from any obstructions if possible. Be sure to install
the mast securely and vertically to prevent uneven wear.
TO INSTALL:
Do Not Plug in the instrument until ALL connections have been made.
1 – Holding the cup assembly carefully by the base, mount it on top of the
14" aluminum mast, securing it with the included cotter pin (bend one
end of the pin over to prevent it from coming out).
2 – Attach the fork terminals on the end of the speed
wire to the 3 screw terminals on the underside of the
speed generator, matching color to color.
3 – Attach the curved mast (with the Vane assembly)
to the straight mast using the two hose clamps; the
4 – Attach the L-shaped bracket to the
roof or rake boards with the included
Speed Generator
bottom of the curved
(Bottom View)
mast should be raised
about 2" above the bottom of the
straight mast.
lag bolts. The unit can also be attached to a chimney using a masonry drill
and screw anchors.
5 – Using the U-bolts, attached the straight mast securely to the bracket.
6 – Loosen the hose clamps and rotate the curved mast until it points to
the North (the "N" inscribed on the side of Direction Vane Assembly must
face North to properly orient the unit).
7 – Run the both cables into the house to the location where the meter
will be mounted.
8 – At the back of the
meter, attach the three
Wind Speed wires to the
TOP three terminals,
matching color to color
(see diagram).
9 – Attach the five Wind
Direction wires to the
middle terminals, matching
color to color.
10 – OPTIONAL: Attach a
9V battery backup to the
two middle terminals. (The
battery backup is not
necessary, but will power the Tru-Gust for up to 48 hours in the case of a
power outage.)
11 – Attach the two wires from the power supply to the BOTTOM two
terminals on the rear of the instrument (either wire to either terminal),
then plug in the adapter.
TO OPERATE:
To see the highest wind speed since the Tru-Gust was last reset, push and
release the button on the bottom of the dial. The needle will move to the
highest reading and remain there for a few seconds before returning to
the current reading.
To RESET the gust memory, push the button in for 5 seconds and the
memory will clear. During a power outage, the wind speed will
automatically switch to the battery backup if a battery is attached.
Altering this instrument in any way will void the warranty. Please
call with any questions regarding installation or operation.
