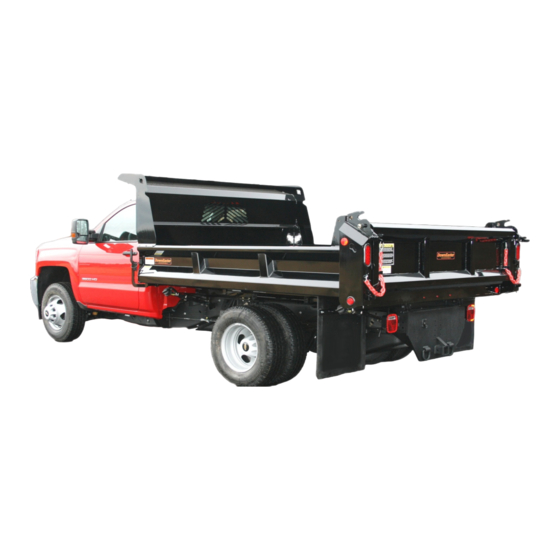
Downeaster DED LP Kullanıcı/İşletmeci El Kitabı - Sayfa 12
Otomobil Aksesuarları Downeaster DED LP için çevrimiçi göz atın veya pdf Kullanıcı/İşletmeci El Kitabı indirin. Downeaster DED LP 20 sayfaları. Dump body scissor hoist

Place the body/hoist/sub frame on the truck with a minimum of 2.5" inches of cab clearance.
Note: Installing temporary jumper cables to the pump, will ease installation of 0/1 cables, as to lift the
body up to better access the pump solenoid.
If rear bolt on option was chosen, align holes in rear hinge with holes drilled in chassis.
1/2' grade 8 bolts MUST be installed head up, as to not interfere with dump hinge operation. Temporary
clamp sub frame in place, and remove the 1" hinge bolts and lift up the body tub rear enough to put
hardware in place. Lower body back onto sub frame and loosely reinstall 1' hinge bolts
If welding rear, center hinge angle on chassis, making sure there is proper cab clearance and entire sub frame
is centered on chassis. Tack weld hinge to rear of chassis frame and continue to next step.
Note: If installing on a 9' frame, there may be an overhang from the filler bar coming off the hinge angle.
You may cut this off, or leave in place as an overhang to protect hitch plate.
2" back set on 9'-3" frames
1/4" fillet weld required on both sides or chassis frame to hinge angle.
WARNING: DO NOT WELD TO CHASSIS FRAME ANYWHERE IN FRONT OF THE REAR SPRING HANGERS!
Front brackets
When Sub Frame and Hoist are positioned correctly, position Sub Frame Chassis brackets to hoist saddle
pads protruding out from sub frame. The chassis brackets have 3 tabs for multiple brands, and one may have
to be cut off for clearance. Example: Most GM and Ford applications will require the center tab to be
removed, and Ram trucks may need to have the forward tab removed on both sides to clear front spring
perch hanger. Install 2 - 1/2" x 1- 1/2" Grade 8 Bolts, washers and nuts on both sides. Tighten bolts just
enough to hold brackets in place, making sure that they are tight against frame for drilling (Slight
repositioning may be required in later step)
NOTE: Prior to any drilling through frame, make sure any wiring, gas or brake lines are clear of drill path.
Drill (2) 17/32" Dia holes into truck frame using the Chassis Frame Bracket holes as guides and repeat on
opposite side. This can also be done by center punching, removing brackets and then drilling. (1/4" pilot hole
recommended) Next, install (2) ea 1/2"x 2" hex cap screws, washers and nuts provided on each side. Torque
all hardware from and rear accordingly.
See Detail 4-C.
INSTALLATION
3-A
Filler on 9'-3" frames
12
3-B
