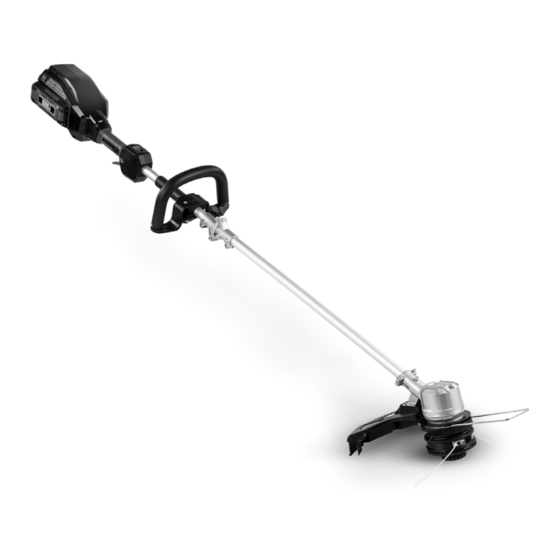
DR PRO-62V Güvenlik ve Kullanım Talimatları Kılavuzu - Sayfa 10
Düzeltici DR PRO-62V için çevrimiçi göz atın veya pdf Güvenlik ve Kullanım Talimatları Kılavuzu indirin. DR PRO-62V 20 sayfaları.
Ayrıca DR PRO-62V için: Güvenlik ve Kullanım Talimatları Kılavuzu (20 sayfalar), Güvenlik ve Kullanım Talimatları Kılavuzu (20 sayfalar)

Knob
Tube
Connector
Figure 6
Switch Housing
Trigger Lock
and Washer
Figure 7
Figure 8
Screw
Mount
Figure 9
DR
®
10
PRO-62V STRING TRIMMER
Assembling Your 62V String Trimmer
Tools Needed:
•
1.
Trimmer
Tube
2.
3.
4.
5.
Handle
6.
7.
Bolt
8.
9.
Clamp
Allen
Wrench
Cover
5mm Allen Wrench (supplied)
Locate a clean flat surface to work on.
Unfold the Trimmer Tube so that it is fully extended and the Tube
Connector halves are together (Figure 6). Be careful not to pinch the wire
that is inside the Tube.
Secure the Tube Connector with Tube Connector Knob
Open the Clamp on the Sub Handle and place the handle on to the
Trimmer Shaft in front of the Switch Housing (Figure 7).
Close the Clamp and secure with the Outer Bolt, Washer and Trigger Lock.
Adjust the Trigger Lock by threading it onto the bolt so that it is tight when
clamped.
Remove the 5mm Allen Wrench from the storage area in the Battery Mount
Shell (Figure 8).
Turn the Trimmer Over. Set the Protective cover onto the Mounting Post
and secure with four Screws using a 5mm Allen Wrench (Figure 9).
Clip the Flower protector into the mounting Groove on the Trimmer Head
with the Guard angled down (Figure 10).
Flower
Protector
Groove
Trimmer
Head
Figure 10
