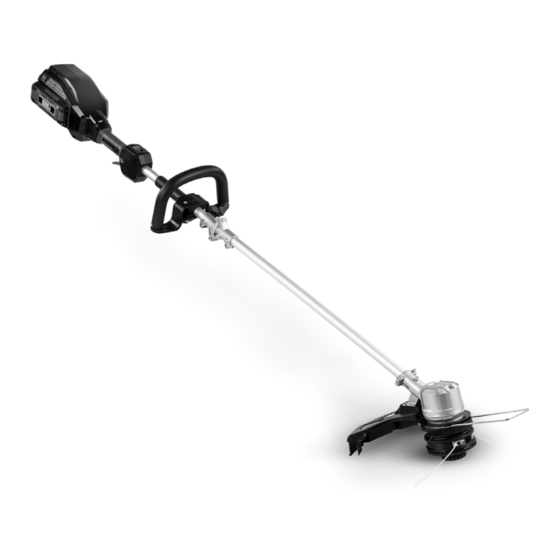
DR PRO-62V Güvenlik ve Kullanım Talimatları Kılavuzu - Sayfa 10
Düzeltici DR PRO-62V için çevrimiçi göz atın veya pdf Güvenlik ve Kullanım Talimatları Kılavuzu indirin. DR PRO-62V 20 sayfaları.
Ayrıca DR PRO-62V için: Güvenlik ve Kullanım Talimatları Kılavuzu (20 sayfalar), Güvenlik ve Kullanım Talimatları Kılavuzu (20 sayfalar)

Chapter 3: Operating the DR
Figure 6
Figure 7
Figure 8
Sub-Handle
1
Figure 9
DR
®
10
PRO-62V HEDGE TRIMMER
®
PRO-62V HEDGE TRIMMER
It may be helpful to better familiarize yourself with the features of your Hedge
Trimmer by reviewing Figure 2 in Chapter 2 before beginning the steps outlined
in this chapter.
Starting the Hedge Trimmer
1.
Remove the Protective Blade Cover and store in a safe place.
2.
Place one hand on the Sub-Handle Switch and place the other hand on the
Power Switch Handle.
3.
To start the Trimmer, press the Switch Self-locking Button with your thumb
and squeeze the Power Switch. The Trimmer will stay running as long as the
Sub-Handle Switch and Power Switch are engaged. Once The trimmer has
started, you may release the Self-Locking Button.
4.
To stop the Trimmer, release the Power Switch. The Trimmer will also stop
if you release the Sub-Handle Switch in an emergency but letting go of the
Power Switch is the preferred method.
Operating the Hedge Trimmer
Proper Trimming Position
Hold the Hedge Trimmer firmly in both hands while keeping the unit below
waist level (Figure 6).
Trimming New Growth
Use a wide, sweeping motion, while feeding the Blade Set through the twigs is
most effective (Figure 7). A slight downward tilt of the Blade Set, in the
direction of motion gives the best cutting.
Side-Trimming Hedges
Begin at the bottom of the Hedge and sweep upward (Figure 8).
Rotating the Hedge Trimmer Handle
The Hedge Trimmer Handle can be rotated 90˚ left or right for a better
ergonomic grip while in operation.
1.
Firmly grab the Sub-Handle with one hand (Figure 9). With the other hand,
press the Rotation Self-Locking Button to release the Handle.
2.
Rotate the Handle 90˚ left or right depending on the direction you will be
Rotation
Cutting. When fully rotated the Handle will lock into position.
Self-Locking
Removing the Battery
Button
Handle
To remove the Battery press and hold the Battery Lock Button on the Back of the
2
Trimmer Housing and slide the Battery away from the Trimmer.
