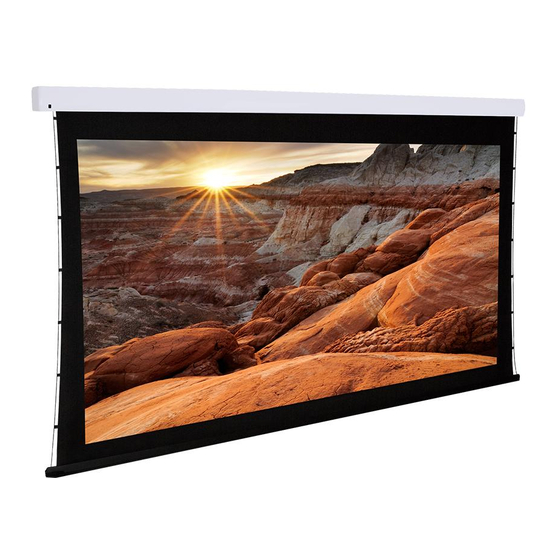
Dragonfly DFM-TAB-92 Kurulum Kılavuzu - Sayfa 13
Motorlu ekran Dragonfly DFM-TAB-92 için çevrimiçi göz atın veya pdf Kurulum Kılavuzu indirin. Dragonfly DFM-TAB-92 17 sayfaları. Dfm-tab screens
Ayrıca Dragonfly DFM-TAB-92 için: Kullanıcı El Kitabı (8 sayfalar)

8. Using the Screen
8.1. Automated Control
After installation, unless the manual switch or IR remote is being used for control, the projection screen should
automatically open and close when the projector is turned on and off.
8.2. Manual Control
If the IR remote or the wall switch is used,
operation is as follows:
•
Press the Up button to close the
screen after use.
•
Press the stop (middle) button on
the pad to stop the screen in its
current position.
•
Press the Down button on the pad
to open the screen for use. It will
automatically stop when the set
"open "limit is reached.
•
Use Micro-up and -down to change
the height of the screen in small
increments.
Warning! If the screen is repeatedly reversed while in motion, it may stop moving and reacting to any
control method. This is a safety feature that keeps the motor from overheating. If this occurs, stop
testing for a moment and unplug the power cord. Wait about 5 minutes, and plug the screen back in.
The motor will continue to function as normal.
9. Cleaning the Projection Screen
Dragonfly screens are designed to provide many years of trouble-free use. After the screen is installed and adjusted,
no further maintenance is required for the operation of the screen, unless the viewing surface gets dirty. Follow these
guidelines to clean any marks or residue from the viewing surface:
• Do not clean the screen case with water.
• Use a dry cloth to clean dust and dirt from the housing and screen on regular occasions.
• To clean the screen material, use warm soapy water and a soft cotton cloth only. Never use chemicals or abrasives
as this will damage the surface of the material, which in tum will affect the viewing quality of your screen.
www.snapav.com Support: 866.838.5052
LED Remote Controller
UP
STOP
DOWN
MICRO-DOWN
MICRO-UP
DFM-TAB Installation Manual
Pg. 13
