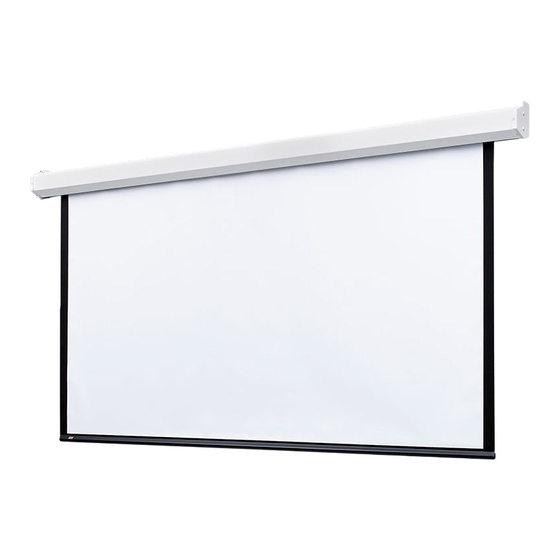
Draper 236002EH Talimatlar - Sayfa 3
Projeksiyon Perdesi Draper 236002EH için çevrimiçi göz atın veya pdf Talimatlar indirin. Draper 236002EH 4 sayfaları.

Acumen
M
™
Section 1.3 - Ceiling Installation:
1. Attach Ceiling Brackets to
Mounting Brackets
2. Secure the Ceiling Brackets to the ceiling using appropriate hardware
CAUTION: Product is very heavy:
Installer must provide adequate attachment hardware and anchors as required.
Installer must also ensure that structure is of adequate strength
3. Ensure that
mounting brackets
4. Slide all
Bracket Locks
to the center of the case.
Mounting Hardware (by others)
NOTE: It is the responsibility of the installer
to select mounting hardware appropriate
for the mounting surface
5. Holding the case by the endcaps, lift it up and over the cleats on the
18"
(457mm)
Max. Distance
Slide to lock case to
6. Once the case is settled on the mounting brackets, slide the
Section 2- Operation
To lower screen:
pull screen down to desired position. Hesitate—then allow screen to slightly retract very slowly until it locks in place.
To raise screen:
pull down on the pull bail, then raise quickly, as a window shade. Keep control of the picture surface. Do not allow it to roll uncontrolled into
the case, or damage is sure to result.
Section 3- Fascia Removal
To remove fascia:
1. Remove the screws from bottom from lip at each end of the fascia using 3/32" hex wrench.
2. Lift fascia off of the top lip of the case spine extrusion.
To install fascia:
1. Hook the top lip of fascia over the top lip of spine extrusion.
2. Push bottom edge of fascia towards the case spine.
3. Align holes in fascia with end cap holes and screw in the attachment screw using 3/32" hex wrench.
using the provided hardware
are level.
Ceiling Brackets
Secured to Ceiling
Wall Bracket Channels
Bracket
for Case Mounting
Bracket Locks
.
(see figure at right)
.
(by others)
Ceiling
Mounting
Bracket
Figure 5-A
Figure 5-B
mounting brackets
. Wall Bracket Mounting Channels are shown in Fig. 6 below.
(see Fig. 5)
One Ceiling Bracket
Centered
Optional
Center Bracket
to the center of each
mounting bracket
Ceiling Bracket Assembly
ACUMEN
Ceiling Bracket Assembly
CEILING
ACUMEN
SIDE VIEW
Slide to lock case to
Bracket
and secure set screw on the lock.
(see Fig. 6)
1
1
2
Figure 7-B
page 3 of 4
Carriage Bolt
Washer
½" Hex Nut
Figure 6
2
Figure 1-A
Figure 7-A
3
