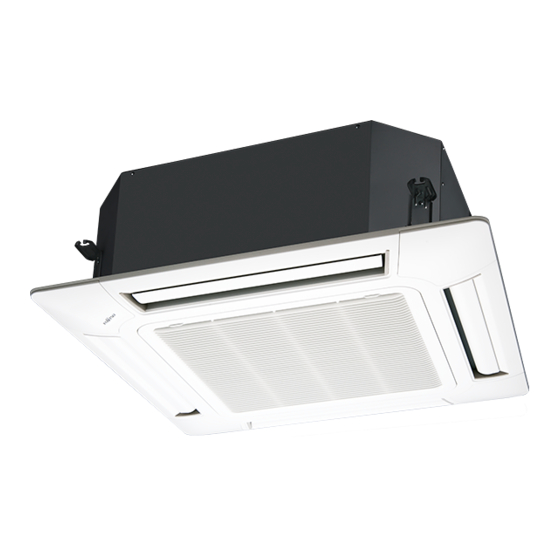
AirStage AUXA45GALH Kurulum Kılavuzu - Sayfa 13
Klima AirStage AUXA45GALH için çevrimiçi göz atın veya pdf Kurulum Kılavuzu indirin. AirStage AUXA45GALH 17 sayfaları. Indoor unit (cassette type)
Ayrıca AirStage AUXA45GALH için: Kullanım Kılavuzu (6 sayfalar)

Operation behavior
Connector
External output1
Pins 1-2
External output2
CNB01
Pins 1-3
External output3
Pins 1-4
(3) Connection methods
• Wire modifi cation
Remove insulation from wire attached to wire kit connector.
Remove insulation from fi eld supplied cable. Use crimp type insulated butt connector to
join fi eld cable and wire kit wire.
Connect the wire with connecting wire with solder.
IMPORTANT: Be sure to insulate the connection between the wires.
Field supply
Solder and insulate the connected parts.
• Connection terminals and wiring arrangement
In following fi gure, all the possible connectors are connected for description.
In actual installation, you cannot connect all the connectors at once.
Cable tie (Field supply):
Bind to the transmission cable
Transmission cable
7. FIELD SETTING
There are 3 methods for address setting by FIELD SETTING as follows.
Set by either of the methods.
Each setting method is described (1) to (3) below.
(1) IU AD, REF AD SW settings ............. This section (7.1. Setting the address)
(2) Remote controller settings ............... Refer to the wired or wireless remote controller
(3) Automatic address settings ............. Refer to the outdoor unit manual for detailed
Be sure to turn OFF the power before performing the fi eld setting.
7.1. Setting the address
Use an insulated screwdriver to set the dip switches.
• Remove the cover referring to the below Fig. A. Fix the cover after addressing setting.
Output voltage
Status
0V
Stop
DC 12 V
Operation
0V
Normal
DC 12 V
Error
0V
Indoor unit fan stop
DC 12 V
Indoor unit fan operation
Option parts
External input /output wire
hook
CNB01
CNA01
CNA03 CNA02 CNA04
manual for detailed setting information. (Set IU
AD, REF AD SW to 0)
setting information. (Set IU AD, REF AD SW to 0)
CAUTION
CAUTION
Fig. A
Screw
Rotary switch Example: "0"
Setting
Setting range
Indoor unit
0 to 63
address
Refrigerant
0 to 99
circuit address
(1) Indoor unit address
Rotary switch (IU AD × 1)...Factory setting "0"
Rotary switch (IU AD × 10)...Factory setting "0"
When connecting multiple indoor units to 1 refrigerant system, set the address at IU
AD SW as shown in the Table A.
(2) Refrigerant circuit address
Rotary switch (IU AD × 1)...Factory setting "0"
Rotary switch (IU AD × 10)...Factory setting "0"
In the case of multiple refrigerant systems, set REF AD SW as shown in the Table
A for each refrigerant system.
Set to the same refrigerant circuit address as the outdoor unit.
• If working in an environment where the wireless remote controller can be used, the
addresses can also be set using the remote controller.
• If setting the addresses using the wireless remote controller, set the indoor unit
address and refrigerant circuit address to "00".
(For information on setting using the wireless remote controller.)
Cover
Rotary switch
Example: "0"
Type of switch
Setting
example 2
IU AD × 10
IU AD × 1
Setting
example
63
REF AD × 10
REF AD × 1
En-12
