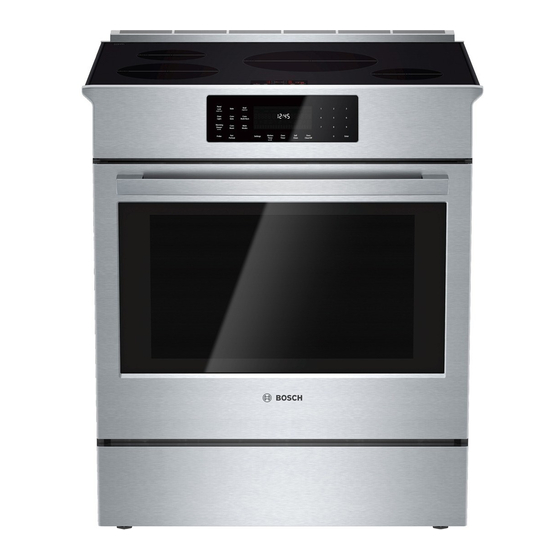
Bosch Benchmark HBLP451LUC Kurulum Kılavuzu - Sayfa 6
Fırın Bosch Benchmark HBLP451LUC için çevrimiçi göz atın veya pdf Kurulum Kılavuzu indirin. Bosch Benchmark HBLP451LUC 39 sayfaları. Built-in wall ovens
Ayrıca Bosch Benchmark HBLP451LUC için: Teknik Özellikler (3 sayfalar), Kurulum Kılavuzu (22 sayfalar), Servis Kılavuzu (45 sayfalar)

Dimensions and Cabinet Requirements
Cabinet requirements vary depending on the model to be
installed. Please consult the "Cabinet Dimension
Requirements" section at the back of this installation
manual for the details pertaining to your particular model.
All models require:
1/4" (6.4 mm) space between the side of the oven and
an adjacent wall or cabinet door when installed at the
end of a cabinet run.
Installation of 2x4's extending front to back flush with
the bottom and side of the opening to provide oven
support. This supporting base must be well secured to
the floor/cabinet and must be level.
The electrical conduit box must be located above the
unit to facilitate connecting and servicing the unit.
The cabinet base must be flat and capable of
supporting the weight of your oven when in use (varies
by model up to 390 Ibs. (177 kg)). See the appropriate
weight for your model in the "Cabinet Dimensions
Requirements" section at the back of this installation
manual.
Removing Packaging
•
Cut straps on the outside of the box.
•
Remove the cardboard box by lifting it up and off the
unit.
•
Remove all top and side cardboard and Styrofoam
braces.
•
Place the oven (leaving it on the shipping base) in front
of the cabinet where it is to be installed.
Remove all accessories, racks, packing materials and
literature from the oven cavity (for double ovens,
remove such items, if present, from both cavities).
Unscrew unit from packaging brackets as shown below
in "Packaging Bracket Removal."
Note: The screws near the base mounting bracket are
all torx head (T-20 size). Only the one screw that goes
through the slotted hole in the mounting bracket on the
left and right sides of the unit needs to be removed in
order to lift the unit from the mounting base (the screw
circled and shown as "A" in the following illustration.)
NOTICE
Remove one screw only from each bracket. This
will release the oven from the shipping base. Do
not remove any additional screws from the oven.
Packaging Bracket Removal (left and right
sides)
Note:
Different models use different packaging materials.
Actual
brackets may look differently. The bracket remains in the
packaging base. The unit should stay on the packaging
base until ready to be lifted into cabinet cutout.
Preparing Oven
Place oven in front of the cabinet where it is to be installed
so that it is in line with the cabinet cutout.
Check to be sure all packing materials have been removed
from the unit. Also remove the accessories, oven racks,
literature pack and any shipping materials from inside the
oven cavity (remove from both cavities for a double oven or
combination oven).
English 4
9001065629 Rev A
