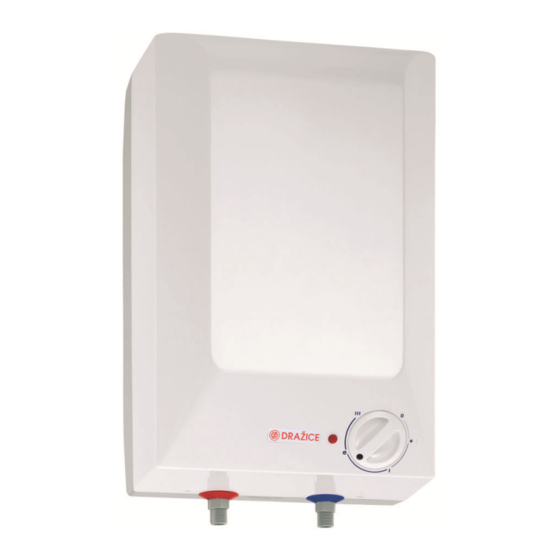
Drazice BTO 5UP Talimatlar Kılavuzu - Sayfa 4
Su Isıtıcı Drazice BTO 5UP için çevrimiçi göz atın veya pdf Talimatlar Kılavuzu indirin. Drazice BTO 5UP 8 sayfaları.

7. PLUMBING FIXTURE
The heater is designed for flow (non-pressurised) plumbing system. This system enables water withdrawal from
one point only. Connection has to be performed as indicated on the figure for connecting to water supply network. For
flow connection system you need to use a combination faucet designed to this purpose. Water inflow and outflow is
indicated with different colours on the heater tubes. Cold water inflow is indicated with blue, hot water outflow is
indicated with red. Return valve has to be fixed on the inflow tube in front of the combination faucet in order to avoid
water outflow from the boiler if there is a lack of water within the network.
If the water pressure in the water supply network exceeds 5 bars, a reduction valve must be installed in front of the
combination faucet.
When choosing a flow faucet pay special attention to the information provided by the manufacturer regarding
pressure reduction due to resistance that occurs when water passes through the combination faucet. If the drain valve is
fully opened, it must not exceed 0.2 bar. You are not allowed to fix any water driven device or a water disperser on the
combination faucet drain tube since this might cause increase of the pressure in the heater boiler. Should you fail in
adhering to these instructions, the heater may get damaged.
The "above-supply-point" version
BTO 5 UP
BTO 10 UP
Explanation:
1 – shut-off valve
2 – reduction valve
3 – back pressure valve
4, 4a – flow combination faucet
Before connecting to power supply, always have the heater filled with water. During the first filling open the hot
water tap on the combination faucet. The heater is filled up when water drains through the combination faucet drain hose.
If the heater is not filled with water before connecting, the thermal fuse will get damaged and the heater will not function.
The thermal fuse is non reversible, it burns out. If damaged, it has to be replaced with a new functional one.
8. ELECTRIC INSTALLATION
The electric wiring scheme is attached in the manual to the water heater (Fig. 2). The heater has to be connected
via a separate supply with a front-end main switch. The heater is connected to the 230V/50Hz electric network using a
conductor with a contact plug fitted with a switch that turns off all network poles and the circuit breaker (protector).
Electric installation must comply with valid electrotechnical standards. Connection of the heater to electric network shall
be executed following the plumbing fixture. In order to enhance the protection of coupling in bathrooms and shower
corners pursuant to ČSN 332000-7-701, the appliance is provided with a grounding terminal for connecting with a
The "below-supply-point" version
H – cold water
T - hot water
4
BTO 5 IN
BTO 10 IN
