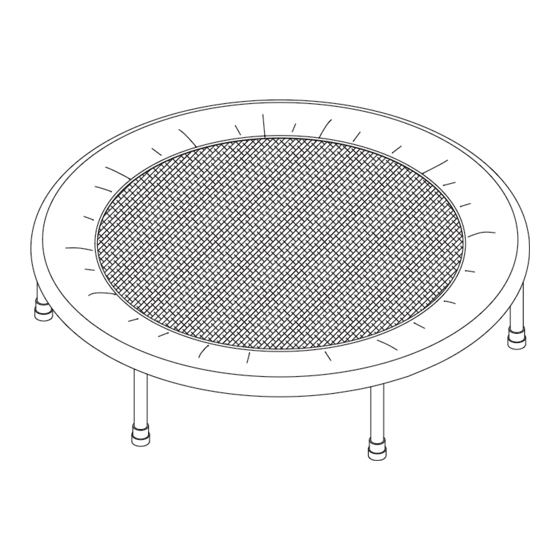
Athletic Works 35-1619WS Kullanıcı El Kitabı - Sayfa 4
Aksesuarlar Athletic Works 35-1619WS için çevrimiçi göz atın veya pdf Kullanıcı El Kitabı indirin. Athletic Works 35-1619WS 9 sayfaları. 36" trampoline

ASSEMBLY INSTRUCTIONS
Place all parts from the box in a cleared area and position them on the floor in front of
you. Remove all packing materials from your area and place them back into the box.
Do not dispose of the packing materials until assembly is completed. Read each step
carefully before beginning. If you are missing a part, please go to staminaproducts.
com under the Customer Care section and order the part needed, e-mail us at
[email protected], or call us toll free at 1-800-375-7520 (in the U.S.).
Our Customer Care Staff is available to assist you from 7:30 A.M. to 5:00 P.M. (Central
Time) Monday through Thursday and 8:00 A.M. to 3:00 P.M. (Central Time) on Friday.
STEP 1: Place the trampoline on the floor with the threaded connectors pointing
up. Remove the Plastic Caps from the threaded connectors. Refer to illustration 1.
The two LEGS(3) with a WARNING LABEL(8) must be on opposite sides of the
Athletic Works® 36" Trampoline. Screw one of the LEGS(3) with a WARNING
LABEL(8) onto a threaded connector on the RAIL FRAMES(1, 2). Attach the other
LEG(3) with a WARNING LABEL(8) to the threaded connector directly opposite
the other LEG(3) with a WARNING LABEL(8). Screw the other four LEGS(3)
onto the threaded connectors on the RAIL FRAMES(1, 2).
Remove all of the six Plastic Caps
from the threaded connectors
before installing the LEGS(3).
NOTICE: It is possible that the Athletic Works® 36" Trampoline LEGS(3) will
not have the inside threads needed to screw it onto the threaded connector as
described in this manual. If this is the case, it could be due to one of two reasons:
(1.) the LEG CAP(5) was placed on the wrong end of the leg, or (2.) the LEG(3)
doesn't have the threads on either end.
If this is the case with any of your Athletic Works® 36"
Trampoline LEGS(3), please remove the LEG CAP(5) and
check to see if this end is threaded. If so, simply place the
LEG CAP(5) on the other end and screw into the threaded
connector as described in STEP 1. If not, please call our
toll free number for assistance 1-800-375-7520 or email us
Warning
Label
Threaded Connector
4
1.
Warning
Label
Threaded
Connector
