Andatech AlcoSense PRODIGY II Kullanıcı Kılavuzu - Sayfa 3
Test Ekipmanları Andatech AlcoSense PRODIGY II için çevrimiçi göz atın veya pdf Kullanıcı Kılavuzu indirin. Andatech AlcoSense PRODIGY II 12 sayfaları. Industrial breathalyser

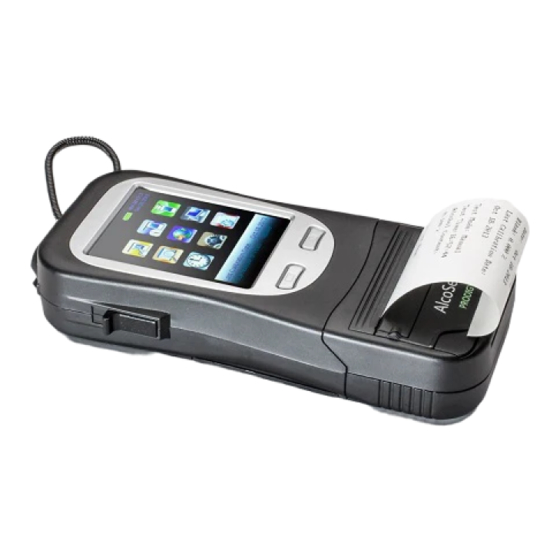
DEVICE FEATURES
DIAGRAM EXPLANATION
Stylus
(back of unit)
Button to
Remove
Mouthpiece
1. DISPOSABLE MOUTHPIECE
Each mouthpiece is individually packed and sealed for hygiene
reasons. Before each new Standard Test, attach a new
mouthpiece to the sample port to prevent contamination from
a previous test.
2. SAMPLING CUP
The sampling cup can be used for Screening Tests and is
reusable as long as no alcohol is detected in the previous test.
Each sampling cup is also individually sealed. Attach a sampling
cup to the sample port to take a passive test. Do not allow the
mouth to touch the sampling cup during testing. After use,
remove the sampling cup and clean it with alcohol or boiling
water. Allow it to dry completely before re-using it.
3. BUTTON TO REMOVE MOUTHPIECE
The mouthpiece can be removed from the breathalyser
hygienically by pushing this button up. This will eject the
mouthpiece for easy disposal without touching the mouthpiece.
SCREEN DISPLAY
GPS Indicator
Standard Test
Test Records
Last Calibration
Date
Next Calibration
Date
Sample Port
Function
Button
Battery Charging
Indicator/Mouthpiece
Inserting Indicator
Touch Screen
On/Off
Button
Printer
4. TOUCH SCREEN DISPLAY
This displays the instructions and the alcohol concentration
reading of breath tests taken on the unit. Select the icons and
buttons on the screen using the stylus pen provided.
5. ON/OFF BUTTON
Press and hold the On/Off button to turn the device on or off.
6. BATTERY CHARGING
The battery can be charged while inside the device. The battery
charging indicator turns red when the battery is charging, and
green when the battery is fully charged.
7. EXTERNAL POWER CONNECTORS
Connectors for 12V car (cigarette) adapter or optional 12V power
transformer. The battery can be charged while inside the device.
8. USB connector
Use a USB cable to upload test records stored in the internal
memory and upgrade the software.
Date & Time Indicator
Battery Indicator
Screening Test
Settings
Number of Tests
Since Last Calibration
Test Record
Counter
Previous Screen/
Cancel
Next Screen/
Confirm
Main Screen
Print
Repeat Test
4
