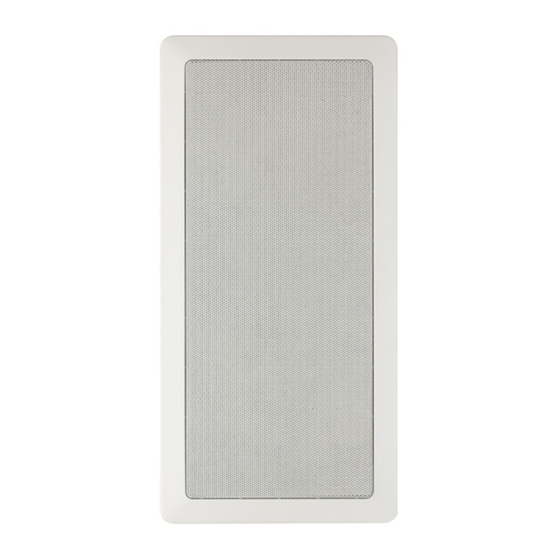
Atlantic Technology IWTS-5 LCR Kullanım Kılavuzu - Sayfa 6
Konuşmacılar Atlantic Technology IWTS-5 LCR için çevrimiçi göz atın veya pdf Kullanım Kılavuzu indirin. Atlantic Technology IWTS-5 LCR 8 sayfaları. Iwts series n-wall theater system speakers

6
Installation
Installation of the IWTS in New
Construction
Atlantic Technology offers optional Rough-in Frame Kits (IN-NC-5 and
IN-NC-10) to ease installation in new construction. Instructions for its use
are included with that kit.
Installation of the IWTS in Existing
Construction
Removing and Installing the Grille
Remove the grille from the speaker using an awl or the point of a drywall
screw in a grille opening near one of the grille corners. Slowly pry the grille
out, being careful not to damage the speaker's frame or its finish.
To re-install the grille later, press it carefully into the appropriate opening in
the frame assembly. Since it's designed to fit snugly, please take your time
and use care when installing the grille.
For shipping, the speaker's baffle will be attached to the frame with two
screws. Remove these screws to separate the baffle from the frame. Reserve
the two screws for installation later.
Cutting the Opening
After determining the best location for the speaker as outlined above, use
the enclosed template to cut the proper size hole.
IWTS-5 LCR
IWTS-10 LCR
WARNING: Exercise extreme care before making any wall cuts to
ensure that you will not cut through any wires, pipes, or other items
that may be in the wall. You may sometimes, but not always, be able
to determine the approximate location of wires and pipes by looking
at the locations of nearby outlets and plumbing. But their location or
absence is never an assurance that there is not something within the
wall cavity.
7 1⁄8" x 9 ¾" (181 x 248mm)
7" x 15 13⁄16" (178 x 402mm)
IWTS-5 LCR & IWTS-10 LCR In-Wall Theater System Speakers
Installing the Mounting Frame
cause the attached clamps to rotate and position themselves properly
behind the wall.
Continue to tighten until the frame is snug in the wall. You want the bezel
to conform to the wallboard, and the frame not to rattle from the speaker's
vibration, but be very careful not to overtighten the screws.
Painting the Speaker Assembly
The clamping mechanism allows
the wall material to range from
½ to 1½ inches (13 to 38 mm) in
thickness. There must be a mini-
mum depth behind the wall face
of 3
5
⁄
" (92 mm). As noted above,
8
be sure to keep the edges of the
cutout at least ½ inch (13 mm)
away from any stud or obstruc-
tion, as the rotating clamps will
not operate properly if you don't.
Insert the frame into the cutout
and using a level or square care-
fully align it so it is level. Tighten
the mounting screws, which will
The white plastic frame and the
metal grille may be left as is, or
painted to match your décor. You
can paint the frame before or after
it is installed in the wall. Spray
painting (using slightly thinned
paint) is the best method to use for
painting the grille. Remove scrim
before painting. After painting the
grille, use air pressure to "blow
out" any grille holes that are filled
in with paint. Replace scrim after
paint is dry.
