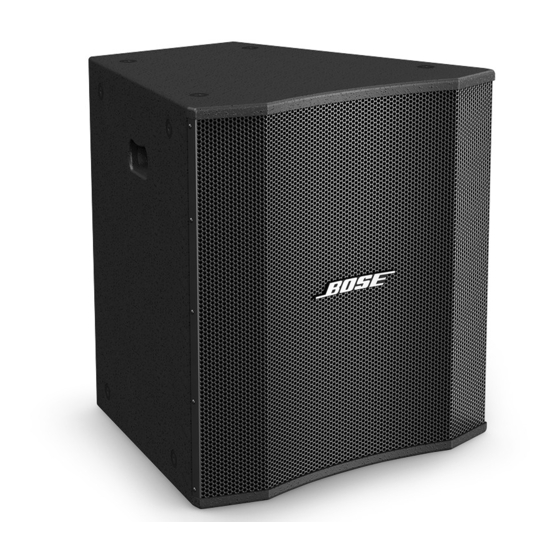
Bose Panaray LT9400 Mid/High Manuel - Sayfa 21
Konuşmacılar Bose Panaray LT9400 Mid/High için çevrimiçi göz atın veya pdf Manuel indirin. Bose Panaray LT9400 Mid/High 35 sayfaları. Panaray lt series iii loudspeakers
Ayrıca Bose Panaray LT9400 Mid/High için: Kurulum Kılavuzu (32 sayfalar), Kurulum Kılavuzu (32 sayfalar)

Disassembly / Test Procedures
6. High Frequency Compression Driver
Removal
6.1 Remove the eighteen screws (21) that
secure the grille assembly to the loud-
speaker. Lift off the grille.
6.2 Remove the twelve screws (18) that
secure the waveguide assembly to the
loudspeaker cabinet. Slowly slide out the
waveguide assembly and unplug the cable
wiring harness at X1.
6.3 Remove the four screws that secure the
compression driver mounting plate to the
cabinet. Lift the compression driver out of
the cabinet. Make a note of the wiring con-
figuration, and disconnect the wires from
the compression driver.
6.4 Remove the four screws that secure the
compression driver to the mounting plate.
Lift off the driver.
7. V2 Mid Frequency Driver Assembly
Removal
7.1 Remove the eighteen screws (21) that
secure the grille assembly to the loud-
speaker. Lift off the grille.
7.2 Remove the twelve screws (18) that
secure the waveguide assembly to the
loudspeaker cabinet. Slowly slide out the
waveguide assembly and unplug the cable
wiring harness at X1.
7.3 Make a note of the wiring connections,
and disconnect the RED (+) and BLUE (-)
wires connected to the V2 driver assembly.
7.4 Remove the four screws that secure the
assembly to the cabinet. These screws are
located at the four corners of the V2 assem-
bly. Do not remove the other screws around
the casting. Carefully lift the assembly out of
the cabinet.
Test Procedures
Test Cable for the Panaray
6400, LT 9403 and LT 9400 Loudspeakers
You will need to make up a test cable in
order to be able to perform the tests below.
Parts Required:
1 - Neutrik
Speakon
®
1 - Dual banana jack
6 feet of 16-18 AWG twisted pair wire
- Connect one lead of the twisted pair wire
to the positive tab of the dual banana jack.
Connect the other lead to the GND tab of the
dual banana jack.
- Connect the positive lead of the wire to
the 1+ position of the Neutrik connector.
Connect the negative lead of the wire to the
1- position of the Neutrik connector. Refer
to the drawing below.
2+
1-
2-
Neutrik Speakon
1+
4 pole connector
(back shown)
Speaker Test Cable
Test Notes:
1. The Panaray LT 6400 and LT 9400 do not
have a woofer. You will not be able to per-
form the woofer related tests on these
speakers.
2. When testing the LT 6403 and LT 9403,
ensure that the speaker under test is in BI-
AMP mode for the following tests. You can
verify that the speaker is set up to operate in
BI-AMP mode by checking the window on
the input panel. Refer to the procedure in
the back of this manual to change from
PASSIVE to BI-AMP mode.
21
LT 6403, LT
®
NL4FX connector
®
16-18AWG
twisted pair wire
GND
Dual banana jack
