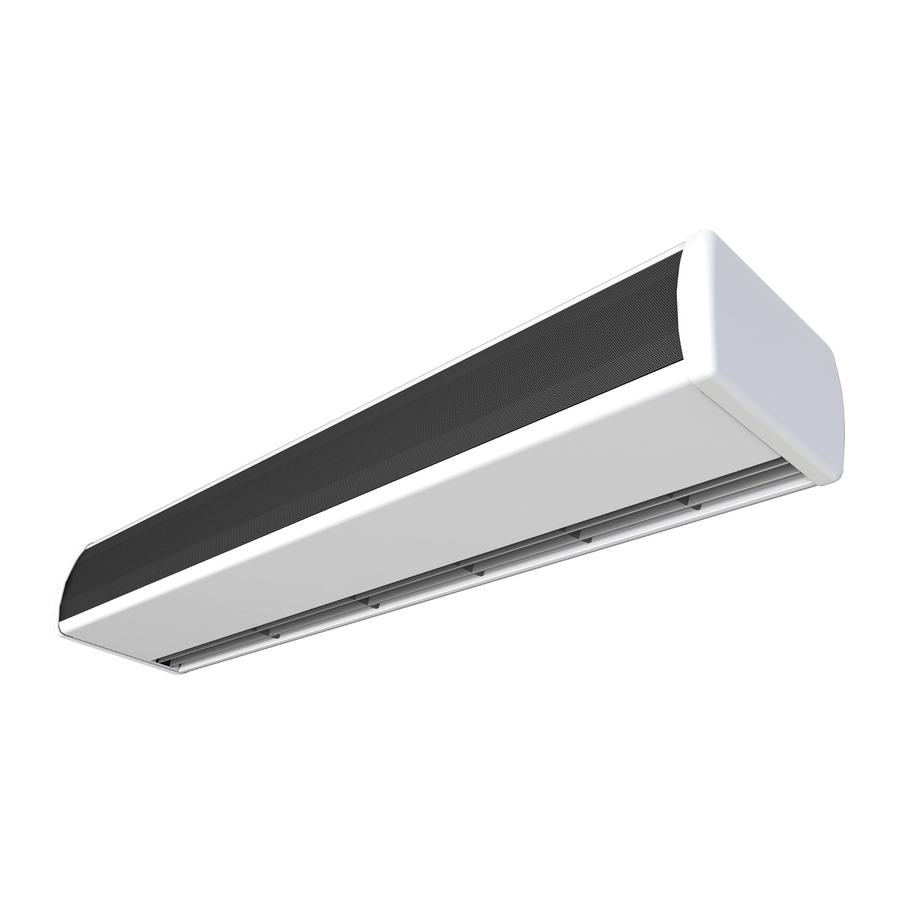
Airtecnics OPTIMA Kurulum, Kullanım ve Bakım Kılavuzu - Sayfa 17
Isıtıcı Airtecnics OPTIMA için çevrimiçi göz atın veya pdf Kurulum, Kullanım ve Bakım Kılavuzu indirin. Airtecnics OPTIMA 19 sayfaları. Air curtain

Heater replacement
Before the replacement, inform people that there is work in progress, disconnect main supply, make sure that
the unit is without tension and that the fans are stopped. Before proceeding to unfasten the heater fixing
screws, we must:
Electrical Heaters: Disconnect the power supply from the electrical element.
Heat exchanger replacement
Before change of heater, inform people that there is work in progress, stop the air curtain through the inbuilt
controller and disconnect main supply. Make sure that the unit is without tension and the fans are stationary.
Before removing the screws that fix the heater, we have to:
1. Disconnect the power supply of
2. Disconnect the cables 2, 3
3. Disconnect the connector B1.
the battery: remove the screw-earth
and 4 of the connections box.
of the connection box and
disassemble from the equipment.
4. When we have the heater ready, we proceed to remove the fixation screws of the battery to remove it.
To assemble the new heater follow the same process in reverse order.
Once removed the screws we will proceed to remove the water coil or electrical element using gloves to
avoid any cut.
ACCESSORIES
Supports, vibration dampers, etc. depending on the model.
17
