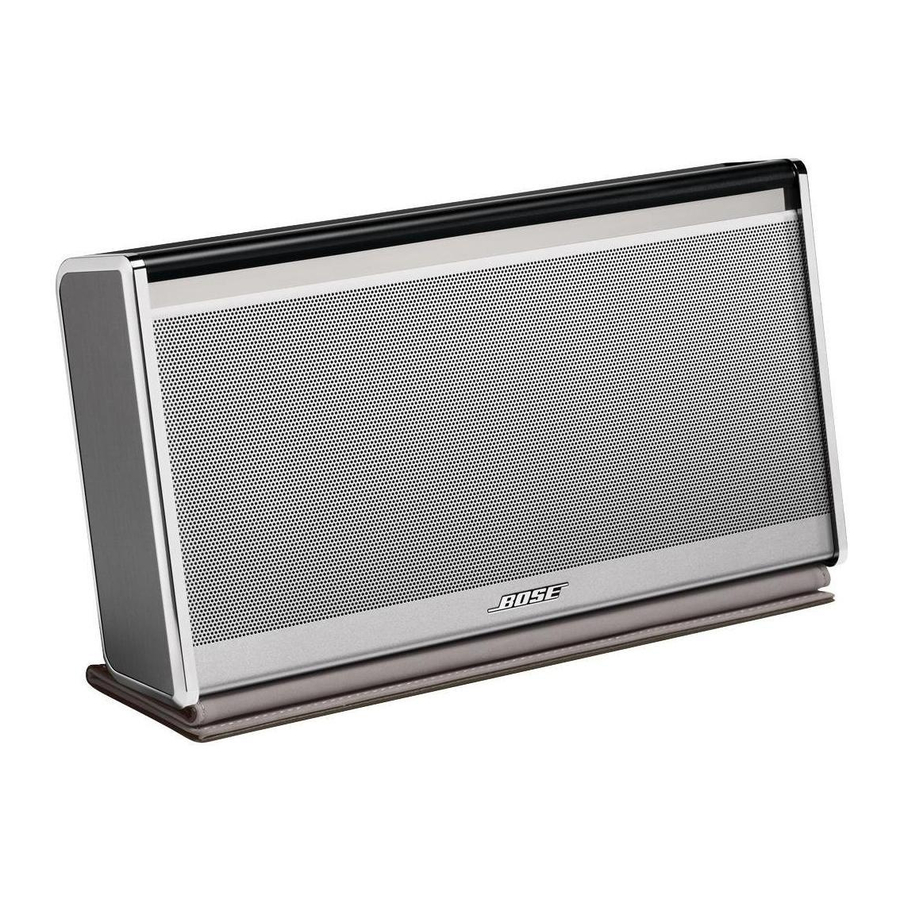
Bose SoundLink Wireless Music System Kullanıcı El Kitabı - Sayfa 10
Stereo sistemi Bose SoundLink Wireless Music System için çevrimiçi göz atın veya pdf Kullanıcı El Kitabı indirin. Bose SoundLink Wireless Music System 33 sayfaları. Car charger
Ayrıca Bose SoundLink Wireless Music System için: Kullanıcı El Kitabı (32 sayfalar), Kullanıcı El Kitabı (21 sayfalar), Hızlı Kurulum Kılavuzu (2 sayfalar), Kullanıcı El Kitabı (24 sayfalar), Değiştirme Kılavuzu (2 sayfalar), Kullanıcı El Kitabı (15 sayfalar), Kullanıcı El Kitabı (12 sayfalar), Kullanıcı El Kitabı (24 sayfalar), Kullanıcı El Kitabı (24 sayfalar), Kullanıcı El Kitabı (40 sayfalar), Kullanıcı El Kitabı (22 sayfalar), Kullanıcı El Kitabı (16 sayfalar), Kullanıcı El Kitabı (18 sayfalar), Kullanıcı El Kitabı (24 sayfalar), Hızlı Başlangıç Kılavuzu (2 sayfalar), Kullanıcı El Kitabı (22 sayfalar), Hızlı Başlangıç Kılavuzu (2 sayfalar), Kullanıcı El Kitabı (16 sayfalar), Kullanıcı El Kitabı (16 sayfalar), Akü Değiştirme Talimatları (2 sayfalar), Kullanıcı Kılavuzu (2 sayfalar), Hızlı Başlangıç Kılavuzu (2 sayfalar), Kullanıcı El Kitabı (19 sayfalar), Kullanıcı El Kitabı (31 sayfalar), Nasıl Yapılır (5 sayfalar), Kullanım Kılavuzu (2 sayfalar), (İngilizce) Kullanıcı Kılavuzu (26 sayfalar), (Japonca) Kullanıcı El Kitabı (3 sayfalar)

