Bose Companion 3 Series II Servis Kılavuzu - Sayfa 28

Amplifikatör Bose Companion 3 Series II için çevrimiçi göz atın veya pdf Servis Kılavuzu indirin. Bose Companion 3 Series II 36 sayfaları. Multimedia speaker system
Ayrıca Bose Companion 3 Series II için: Kullanıcı El Kitabı (40 sayfalar), Kullanıcı El Kitabı (40 sayfalar), Kullanıcı El Kitabı (22 sayfalar), Kullanıcı El Kitabı (10 sayfalar), Kullanıcı El Kitabı (20 sayfalar), Kullanıcı El Kitabı (26 sayfalar), Hızlı Kurulum Kılavuzu (2 sayfalar), Hızlı Kurulum Kılavuzu (2 sayfalar), Detaylı Montaj Talimatları (2 sayfalar), Kurulum Kılavuzu (20 sayfalar), Teknik Özellikler (6 sayfalar), Broşür ve Teknik Özellikler (4 sayfalar), Kullanıcı El Kitabı (19 sayfalar), Servis Kılavuzu (16 sayfalar)
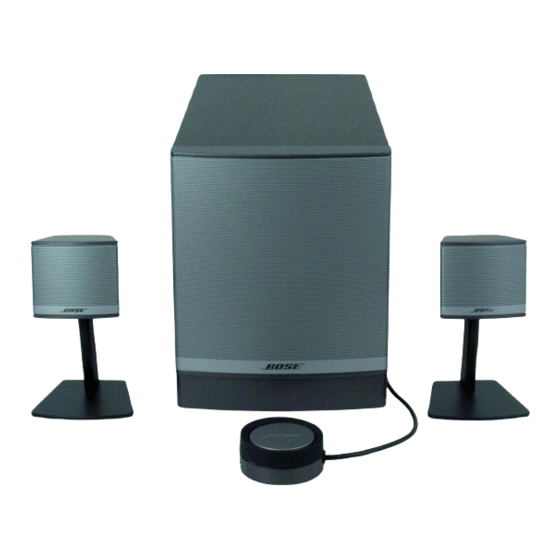
Bose Companion 3 Series II Servis Kılavuzu
2.0
Main Amplifier Board (continued) (refer the schematic diagram 276762)
The two satellite signals, and the bass signal are sent to the power Amp IC, U301 (C3). One channel
of the power Amp IC is used for each satellite, and the bass signal uses two channels of the power
chip to drive both of the woofer voice coils.
The Amp IC can provide up to 40 watts into 2 ohms per channel. The woofer coils are 2 ohms each,
and 60 watts total is specified for the woofer drive. Each satellite can receive 18 watts each into their
4 ohm impedance.
The mute signal from the remote unit comes in through J308, is slowed down by C314 to prevent
pops.
The 10 volts for the signal processing circuitry is generated by D301, a 10 volt zener, and Q303 in an
emitter follower configuration. Q303 is specified up to 500 ma, and the entire remote and signal
processor consumes about 100 ma.
For thermal protection, Q304, Q305, and Q307 (A5) process the voltage generated by the thermistor
on the power supply and R337 and generate a current that goes higher as the temperature rises. This
current is summed into the three compressors, reducing the gain through the system at high tempera-
tures. This prevents the heat sink from getting too hot. R337 determines the voltage division ratio and
therefore the haet sink maximum temperature.
Q308 and Q309 (D5) form a voltage detector that determines when power has reached sufficient
voltage for proper power amplifier operation. If the DC voltage falls below 10 volts, the power amplifier
will be muted. This prevents power up and down pops.
3.0
Control Pod Remote (refer to schematic diagram 272092)
The remote receives the A input signal from the bass module over J4. This is summed with the B input
on the remote control by U2. U2 drives the volume control pot R31. The adjusted volume is sent to U4
to drive the headphone outputs J5 and connector J4 back to the bass module. U1 buffers the 5 volts
reference to the sleeve of J5. J5 is a switched jack, and the switch mutes the main speakers when a
headphone plug is inserted. This grounds the mute signal, which is active low.
U3 is a touch sensor switch. When the operator touches the touch sensor pad on the remote, which is
connected electrically to WT1 and WT2, the QT113 chip will sense this and toggle the standby line.
This changes the LED (DS1) color from yellow to green. The green led is always on, and the red led
glows during standby, as driven by Q1, to mix with the green to show yellow color. U3 output also
drives the standby line to the bass module power amplifier. Standby is active high on the remote, and
inverted in the bass module to the active low signal required by the power amplifier.
The remote amplifiers are powered by the 10 volt supply coming in at J4 from the bass module. The
virtual ground from the bass module comes in as the VCCD2 signal reference from the signal pro-
cessing. ZD1 is a 4.7 volt zener which generates the local power supply voltage from the 10 volt input.
R41 is the current limiting resistor for ZR1. This 4.7 volts powers U3.
At each I/O connector, resistors, capacitors, diodes, and spark gaps are present on each signal to
protect against RF emissions, susceptibility, and ESD.
Theory of Operation
28