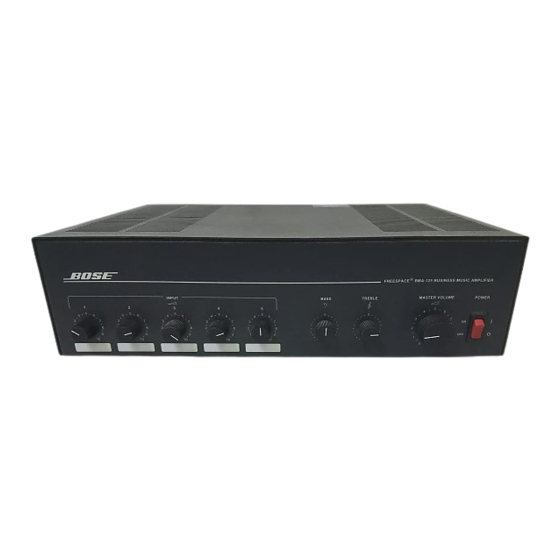
Bose FREESPACE BMA-125 Servis Kılavuzu - Sayfa 11
Amplifikatör Bose FREESPACE BMA-125 için çevrimiçi göz atın veya pdf Servis Kılavuzu indirin. Bose FREESPACE BMA-125 49 sayfaları. Business music amplifier 120/230v

230V DISASSEMBLY/ASSEMBLY PROCEDURES
8. Input 1, 2, 3, 4 and Master Volume
Control Replacement
8.1 Attach the wires to the pot.
8.2 Insert the pot's shaft into the hole in
the chassis.
8.3 Replace the nut that secures the pot's
shaft to the chassis.
8.4 Replace the control knobs by pushing
them onto the pot's shaft.
9. Driver PCB Removal
9.1 Remove the seven screws that secure
the driver PCB to the chassis. One screw is
located just below and between the two
large capacitors.
9.2 Remove the connectors and the wires
from the PCB.
Note: Make note of the wiring configura-
tion.
9.3 Lift the driver PCB up.
10. Driver PCB replacement
10.1 Lower the PCB into the chassis so
that the two large capacitors are located
towards the front of the unit. Align the
screw holes in the PCB to the holes in the
chassis.
10.2 Replace the seven screws that
secure the driver PCB to the chassis.
10.3 Replace the wires and connectors to
the driver PCB.
11. Speaker Output Transformer Removal
11.1 Remove all the wires that connect the
transformer to the driver PCB and the
speaker output terminals.
11.2 Remove the four screws that secure
the transformer to the chassis.
12. Speaker Output Transformer Replace-
ment
12.1 Lower the transformer into the chas-
sis so that the wires face toward the rear of
the unit.
12.2 Replace the four screws that secure
the transformer to the chassis.
12.3 Attach the wires to the driver PCB
and the speaker output terminals.
13. Power Transformer Removal
13.1 Remove the wires that connect to the
driver PCB, chassis terminal and the power
switch.
13.2 Remove the four nuts that secure the
transformer bracket to the chassis. Two of
the nuts are located on the bottom of the
chassis and two are located on the side of
the chassis.
13.4 Lift the transformer up.
13.5 Remove the Four screws that secure
the transformer to the transformer bracket.
14. Power Transformer Replacement
14.1 Replace the four screws that secure
the transformer bracket to the transformer.
14.2 Lower the transformer into the chas-
sis so that the black and blue wires face
toward the driver PCB.
14.3 Replace the four nuts that secure the
transformer bracket to the chassis.
14.4 Attach the wires to the driver PCB,
chassis terminal and the power trans-
former.
11
