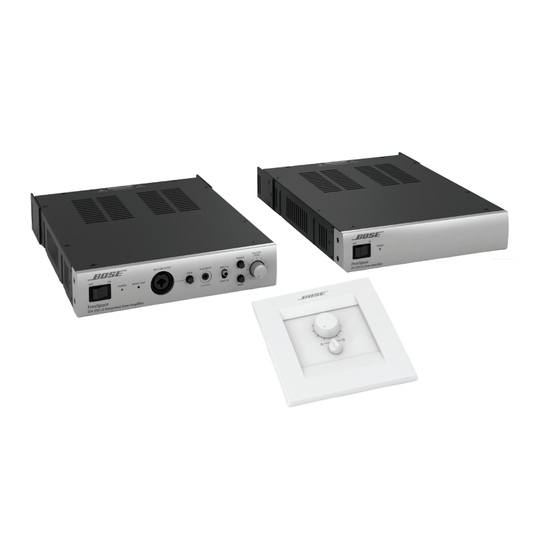
Bose FreeSpace ZA 190-HZ Kurulum ve Kullanım Kılavuzu - Sayfa 29
Amplifikatör Bose FreeSpace ZA 190-HZ için çevrimiçi göz atın veya pdf Kurulum ve Kullanım Kılavuzu indirin. Bose FreeSpace ZA 190-HZ 44 sayfaları. Rack mount kit for amplifiers
Ayrıca Bose FreeSpace ZA 190-HZ için: Kurulum ve Kullanım Kılavuzu (22 sayfalar), Hızlı Başlangıç Kılavuzu (2 sayfalar)

Setup and Operation
pro.Bose.com
Expanding an IZA system with a ZA amplifier
The Bose
FreeSpace
ZA 190-HZ/250-LZ zone amplifier makes system expansion easy� When a system design requires
®
®
more loudspeakers than the FreeSpace IZA 190-HZ/250-LZ integrated zone amplifier can support, the FreeSpace ZA
190-HZ/250-LZ zone amplifier is available to provide additional output channels�
System operation
The IZA 190-HZ/250-LZ and ZA 190-HZ/250-LZ amplifiers will function together as one system – sharing the same music
and paging sources� The IZA 190-HZ/250-LZ amplifier functions as the "master" of the ZA 190-HZ/250-LZ amplifier –
determining which audio sources will be heard and controlling the overall Master Level volume�
Input connections
Connecting the IZA 190-HZ/250-LZ amplifier to the ZA 190-HZ/250-LZ amplifier
Connect the AUX OUT of the IZA 190-HZ/250-LZ amplifier to the INPUT of the ZA 190-HZ/250-LZ amplifier with the
included RCA cable�
Note: It is recommended that when amplifiers are connected together, that both amplifier AC power cords are plugged
into the same AC outlet�
Connecting the zone amplifier with other products
The zone amplifier can also be used as a standalone power amplifier with a front-end signal processor – including the
Bose FreeSpace
4400 Business Music System and ControlSpace
Engineered Sound Processor�
®
®
Line input connections
When using a front-end signal processor, the included RCA cable may need to be modified� The wiring diagram for the
zone amplifier line input RCA connectors is provided below�
Sleeve
Tip
Loudspeaker connections
Refer to Section "2�4 Loudspeaker connections" on page 21 for instructions�
English
Installation and Operation
Page 29
