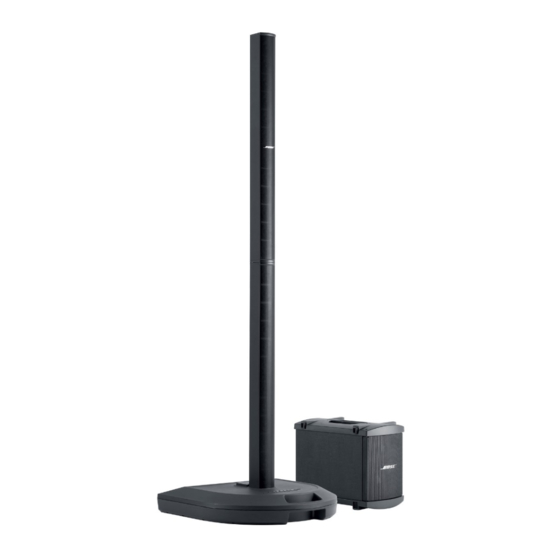
Bose Personalized Amplification System Sorun Giderme Kılavuzu - Sayfa 25
Amplifikatör Bose Personalized Amplification System için çevrimiçi göz atın veya pdf Sorun Giderme Kılavuzu indirin. Bose Personalized Amplification System 50 sayfaları.
Ayrıca Bose Personalized Amplification System için: Kullanıcı El Kitabı (28 sayfalar)

1.10 Power Cycling
1.10.1 Power Up
When power is first applied, 110V AC is applied to the primary side of the transformer1, and at
the secondary side of the transformer1 will charge up +24V, +15V, -15V, +5V, +3.3V. And after 7
ms, they become stable almost at the same time. But +27V/-27 for amplification is late other
voltage about 6ms.
Power-up time complies with the following sequence:
•
With +3.3V, +5V, +15V, -15V, the ADC/DAC/buffer circuit/MCU starts to work
•
After power on 15ms, amplifier starts to work
•
DSP uses RC reset. After about 300ms, DSP starts to work
•
After DSP starts to work, DSP first resets ADC, then digital receiver, and then digital
transmitter, then DAC. Every reset time is 100ms
•
After power on about 700ms, latest DAC's reset is completed
At this point, normal signal processing commences. But in order to get correct remote value
& preset number & number of bass, DSP mutes input signal, and it should no more than
1.5 seconds from the time power is applied until the time audio appears at the speaker output.
1.10.2 Power Down
Upon power-down the muting circuitry comprised of Q810, Q811, DZ805, R895 and C959
[digital amplifier PCB sheet 3, D2] is responsible to mute any noise coming out from the output
of U387 CS4392 Digital-to-Analog converter.
The principle is to detect the voltage VDDA falling below 22 volts. This will cut off the DZ805
Zener diode and Q810 NPN transistor. This in turn will turn on Q811 NPN transistor and pull the
voltage of U806 pin 6 from 5 volt to 0 volt. This action will shut down the class-D amplifier U804
and U805 so that any noise will be muted.
1.11 Software and Preset / EQ Updates
The PS1 software and Preset /EQ files can be updated via the Data In jack J109 [input panel
PCB sheet 2, A1] on the PS1 input panel. Refer to the software update procedures in the ap-
pendix of this troubleshooting guide.
2. Remote R1
The Remote is a wired remote, connected to the PS1 power stand via an 8 pin MIDI cable.
There are a total of nine knobs on the remote, their functions is as follow:
•
Knob for tone regulation
•
Knob for channel volume control
•
Knob for master volume control
•
Two LEDs to indicate clip
The communication between the remote control and the PS1 power stand uses the MIDI proto-
col, operating at 9600baud. The remote control is non-repairable.
THEORY OF OPERATION
25
