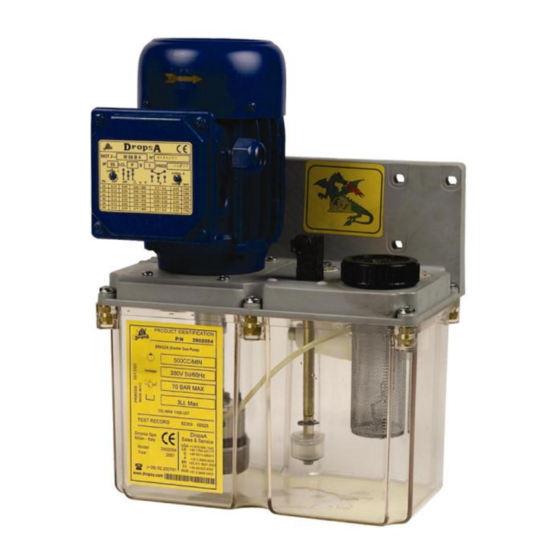
DROPSA Dragon Series Kullanım ve Bakım Kılavuzu - Sayfa 6
Su Pompası DROPSA Dragon Series için çevrimiçi göz atın veya pdf Kullanım ve Bakım Kılavuzu indirin. DROPSA Dragon Series 12 sayfaları.
Ayrıca DROPSA Dragon Series için: Kullanıcı Kullanım ve Bakım Kılavuzu (13 sayfalar)

8. TROUBLESHOOTING
A diagnostics table is provided below that indicates the main anomalies, the probable causes and the possible solutions.
If you were not able to solve the problem after consulting the diagnostics table, do not try to find the fault by
disassembling machine parts but contact the Dropsa technical office and report the anomalies that have been discovered,
with a detailed description.
PROBLEMS
The pump does not deliver oil in
sufficient quantities or does not deliver
at all
The pump does not deliver oil at the
preset pressure
The pressure in the line does not
release
The lubrication cycle is not carried out
6
DIAGNOSTIC TABLE
PROBABLE CAUSES
It is sucking in air because the tank is
empty
The suction filter is dirty or blocked
The internal connections are loose
The pump has deteriorated
The valve adjusting the pressure is
loose and so the oil is returning
immediately into the tank before
flowing through the delivery valve
Release valve damaged
Calibration of the pressure-adjusting
valve incorrect
There is dirt below the valve
The adjusting valve is malfunctioning
Calibration pressure of the cycle-controlling
manostat not reached because of:
Tubing of the line broken or
connections loose
Manostat calibration set higher than
that of the pump
The pump does not deliver oil at the
preset pressure
The pump does not deliver oil
ACTION TO TAKE
Restore the correct level in the tank and
purge the air from the system
Wash the filter with petrol and blow with
compressed air
Carefully close all the connections,
ensuring that there is no leakage
Replace the pump
Tighten the adjusting screw until no oil
comes out from the delivery
Replace the valve
Connect a tube of about 30 cm in length to
the outlet of the pump, with a pressure
gauge at the free end. Adjust the valve by
turning the screw and reading the
corresponding pressure value on the
pressure gauge.
Remove the elastic sealing ring of the
valve unit, extract the valve unit and wash
it with benzene or petrol. Before
reassembling the valve unit, check the
condition of wear of the O rings. If
necessary, replace the valve unit
Remove the elastic sealing ring of the
valve unit, extract the valve unit and wash
it with benzene or petrol. Before
reassembling the valve unit, check the
condition of wear of the O rings. If
necessary, replace the valve unit
Remove the elastic sealing ring of the
valve unit, extract the valve unit and wash
it with benzene or petrol. Before
reassembling the valve unit, check the
condition of wear of the O rings. If
necessary, replace the valve unit
Replace the tubing – tighten the
connections fully
Calibrate the manostat correctly
See diagnostics table
See diagnostics table
