Daikin AGZ Kurulum ve Bakım Kılavuzu - Sayfa 8
Kontrolör Daikin AGZ için çevrimiçi göz atın veya pdf Kurulum ve Bakım Kılavuzu indirin. Daikin AGZ 12 sayfaları. Microtech ii chiller modbus communication module
Ayrıca Daikin AGZ için: Kurulum ve Bakım Kılavuzu (14 sayfalar)

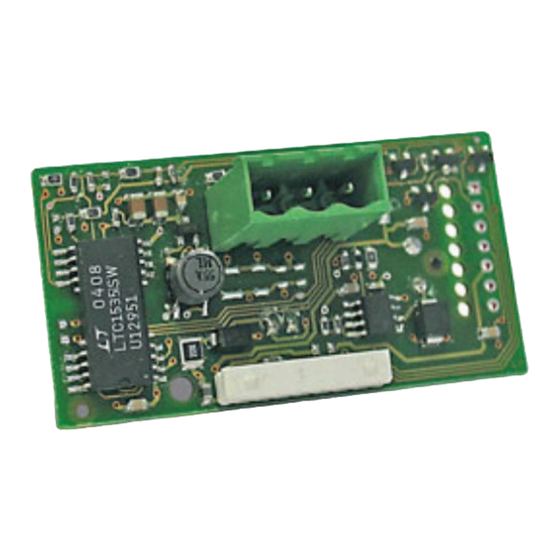
Figure 9: Modbus Communication Module Cover
Replacing a Communication Module
Follow these steps to remove an existing communication
module from unit controller and replace it with a new one.
1. Remove power from the unit controller.
2. Locate the serial card slot on the unit controller
(Figure
3).
3. Pull the network cable connector from the
communication module.
4. Remove the cover from the serial card slot. Use a small
screwdriver to carefully pry it off from one end
and
Figure
6).
5. Grasp the communication module and carefully pull it
from the unit controller.
6. Install the new communication module. Grasp the
module, with the network connector on the underside.
The 8-pin header must mate to the 8-pin plug in the unit
controller. The plug has a guide on each end to direct
it into the mating guide on the communication module
header.
Figure 7
shows the serial card slot with the 8-pin
plug that mates to the header on the communication
module.
NOTE: This operation relies more on fitting the
communication module into the connector than
seeing the connectors mate.
7. Insert the communication module, pointed up, into the
slot. Keeping it level, roll the module into position as
you guide it into the slot, feeling the connectors line up
(Figure
8, Steps 1 and 2).
8. When you feel the connectors align, press the
communication module into the connector. Verify that
the communication module is firmly connected
Step 3).
IM 743-7 • MICROTECH II CHILLER UNIT CONTROLLER
9. Insert the plug-in connector to the communication
module.
10. Replace the cover on the serial card slot. Slip the cover
over the network connector plug
11. Insert the network cable connector into the
communication module.
12. Connect the communication module to the network
(Figure 10
a. Connect one wire of the network cable to Pin 2 of
b. Connect the other wire to Pin 3 of the connector
Figure 10: Network Cable Routing and Connections
(Figure 5
Figure 11: Network Connection Detail
(Figure
8,
8
(Figure
and
Figure
11):
the connector plug.
plug. Note that no wire is connected to Pin 1
(GND).
www.DaikinApplied.com
Installation
9).
Pin 2
Pin 3
RS-485
Network Cable
