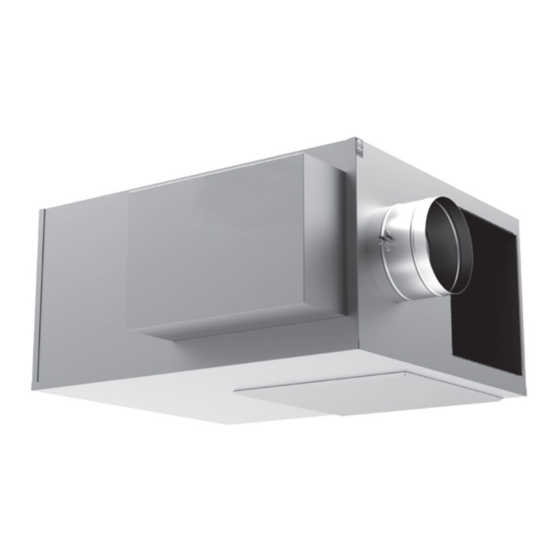
Daikin MQFVI5 Kurulum ve Bakım Kılavuzu - Sayfa 8
Fan Daikin MQFVI5 için çevrimiçi göz atın veya pdf Kurulum ve Bakım Kılavuzu indirin. Daikin MQFVI5 12 sayfaları. Parallel fan powered variable air volume (vav) terminal box

Possible Conditions
● If the motor does not run:
1. With the power off, check for free rotation of blower
wheel using safety precautions.
2. Check for proper supply voltages. Disconnect switch (if
supplied) should be in the ON position.
3. Check fan fusing (if supplied).
4. Check for proper control signal, 24 VAC at fan contactor,
fan contactor energized
● Excessive Noise when fan motor runs:
1. Check for clearance problems with motor blower
components.
2. Check that all components are properly attached.
3. Verify that ductwork does not have leaks or loose
connections and that diffusers are not rattling or
balancing dampers are not generating noise.
4. Maximum CFM too high, or discharge static pressure
too low.
● Insufficient air flow:
1. Check for restrictions in ductwork.
2. Check for clogged water coils (if supplied)
3. Check for clogged intake filter (if supplied)
4. Re-adjust the fan speed control
5. Discharge static pressure too high.
IM 1102 • PARALLEL TERMINAL BOX
If repair or replacement of blower or motor is required, the
motor and fan should be removed as an assembly.
1. Disconnect power prior to removal.
2. Remove the bottom blower access panel.
3. Disconnect the two electrical leads from Terminal
Connection 1 and 2 on the motor.
4. Remove the bottom two lug screws holding the blower
assembly in place.
5. Loosen the top two lug screws holding the blower
assembly in place.
6. Lift the blower assembly upward to disengage the top
two lug screws.
DO NOT ALLOW THE BLOWER TO HANG FROM THE
ELECTRICAL CABLE .
To remove the motor from the blower:
1. Loosen the motor shaft set screw located on the blower
wheel hub.
2. Remove the three screws holding the motor to the fan
housing and slide the motor out of the fan housing.
3. Reverse steps 1 and 2 to place a motor in the fan housing.
Make certain that the set screw is tight prior to placing the
blower assembly into the fan powered terminal.
NOTE: DO NOT OVERTIGHTEN THE MOTOR MOUNTING
SCREWS – may result in excessive fan noise.
8
T
roubleshooTIng
T
roubleshooTIng
www.DaikinApplied.com
