Daikin R32 Split Series Kurulum Kılavuzu - Sayfa 7

Fan Daikin R32 Split Series için çevrimiçi göz atın veya pdf Kurulum Kılavuzu indirin. Daikin R32 Split Series 20 sayfaları. R32 split series
Ayrıca Daikin R32 Split Series için: Kurulum Kılavuzu (17 sayfalar), Kurulum Kılavuzu (16 sayfalar), Kurulum Kılavuzu (16 sayfalar), Kurulum Kılavuzu (16 sayfalar), Kurulum Kılavuzu (17 sayfalar), Kurulum Kılavuzu (16 sayfalar), Kurulum Kılavuzu (20 sayfalar), Kurulum Kılavuzu (14 sayfalar), Kurulum Kılavuzu (14 sayfalar), Kullanım Kılavuzu (16 sayfalar), Kullanım Kılavuzu (16 sayfalar), Kullanım Kılavuzu (8 sayfalar), Kurulum Kılavuzu (17 sayfalar), Kurulum Kılavuzu (16 sayfalar), Kurulum Kılavuzu (20 sayfalar), Kurulum Kılavuzu (20 sayfalar), Kurulum Kılavuzu (16 sayfalar), Kurulum Kılavuzu (16 sayfalar), Kurulum Kılavuzu (14 sayfalar), Kurulum Kılavuzu (14 sayfalar), Kurulum Kılavuzu (16 sayfalar), Kurulum Kılavuzu (17 sayfalar), Kurulum Kılavuzu (13 sayfalar)
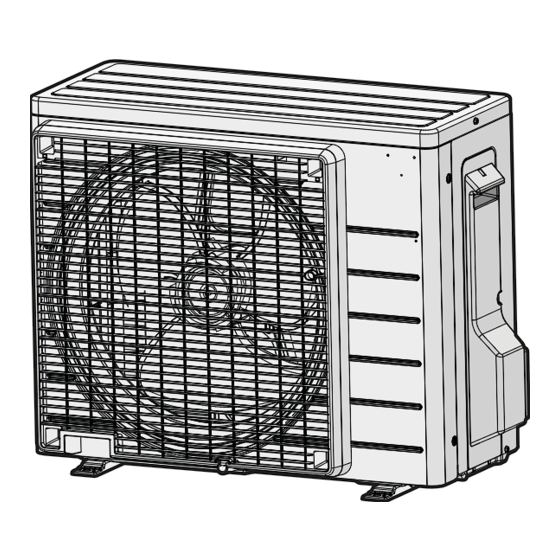
Daikin R32 Split Series Kurulum Kılavuzu
DANGER: RISK OF BURNING/SCALDING
4.3

Mounting the outdoor unit

4.3.1

To provide the installation structure

Prepare 4 sets of M8 or M10 anchor bolts, nuts and washers (field
supply).
(mm)
a
100 mm above expected level of snow
4.3.2

To install the outdoor unit

(A)RXP20~35M5V1B
R32 split series
3P650253-6E – 2022.04
2
1
2
4× M8/M10
4.3.3

To provide drainage

NOTICE
If the unit is installed in a cold climate, take adequate
measures so that the evacuated condensate CANNOT
freeze.
INFORMATION
For information on the available options, contact your
dealer.
1 Use a drain plug for drainage.
2 Use a Ø16 mm hose (field supply).
a
Drain port
b
Bottom frame
c
Drain plug (accessory)
d
Hose (field supply)
NOTICE
Provide at least 300  mm of free space below the unit.
Additionally, make sure the unit is positioned at least
100 mm above the expected level of snow.
4.3.4
To prevent the outdoor unit from falling
over
In case the unit is installed in places where strong wind can tilt the
unit, take following measure:
1 Prepare 2 cables as indicated in the following illustration (field
supply).
2 Place the 2 cables over the outdoor unit.
3 Insert a rubber sheet between the cables and the outdoor unit
to prevent the cables from scratching the paint (field supply).
4 Attach the ends of the cables.
5 Tighten the cables.
4 Unit installation
b
a
c
d
Installation manual
7