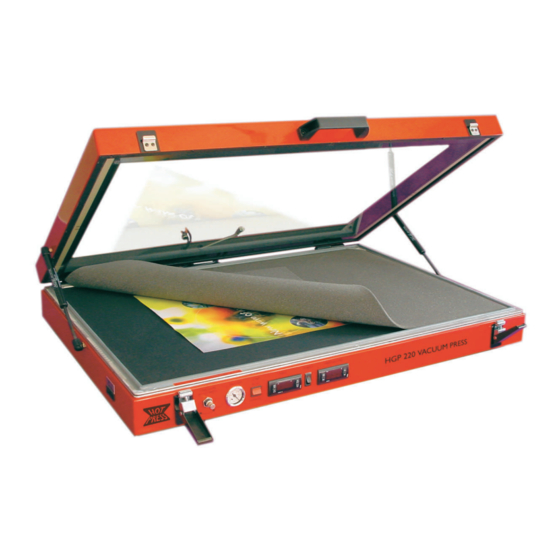
Drytac HOT PRESS HGP220 Operatör El Kitabı - Sayfa 14
Elektrikli Alet Drytac HOT PRESS HGP220 için çevrimiçi göz atın veya pdf Operatör El Kitabı indirin. Drytac HOT PRESS HGP220 19 sayfaları. Heated glass top vacuum press
Ayrıca Drytac HOT PRESS HGP220 için: Kullanıcı Kılavuzu (19 sayfalar)

Your actual settings will vary according to the size of the press, type of dry mounting tissue, type of
mounting substrate, the artwork material used (in terms of material and the size of the print. See
specific product specifications for recommended dwell times (dwell times provided are for paper
graphics).
1. Cut a piece of ArtShield™ UV HeatSet laminating film (or other appropriate heat activated
laminating film) approximately ½" (1cm) larger (on all sides) than the print to be laminated. At
this stage, your print may already be mounted or, ifyou choose, you may dry mount at a later
time without affecting the laminated finish (refer to step 8 below).
2. If the print/graphic to be laminated has a non-breathable surface such as a resin coated (RC)
photograph, it will be necessary to sue a pre-perforated ArtShield laminating film.
selected film is not pre-perforated, place it onto a cutting mat or card stock with the film surface
face up. Using a perforating tool, lightly pierce the film in a crisscross pattern; ensuring the
holes are approximately ¼" (6mm) apart.
3. A release paper backing protects the adhesive coated side of the laminating film. Peel this
back approximately 1" (2.5cm), exposing one edge of the laminating film. Place your print face
up on a clean work surface. Position your laminate on top, exposed adhesive edge down.
While holding it firmly on the table with one hand, gently pull the release paper away and
toward you from underneath.
4. Check that there is no dirt or dust trapped under the laminating film. If necessary, the film may
be gently lifted, the contaminants removed and the film repositioned.
5. Using a burnishing pad or soft cloth, lightly smooth the laminating film down onto the print to
remove excess air bubbles.
6. Place the print onto a larger piece of silicone release paper/film shiny side up.
7. Preheat your press to 180-210° F (82-99° C)*.
8. Cover your work with the foam overlay blanket and place into the press.
9. Your work piece should be processed for two to ten minutes* - beginning from the time that the
press has achieved the desired pressure setting.
10. The final result should be a blemish-free finish. If any silvering is apparent under the clear film
(especially visible in the dark areas), re-insert and process for an additional 2-10 minutes*.
Caution:
ArtShield
Glossy laminating film cannot be pierced and is not recommended for
™
photographs.
Illustration 12B: Applying Artshield laminate
to the print/photo.
If the
14
