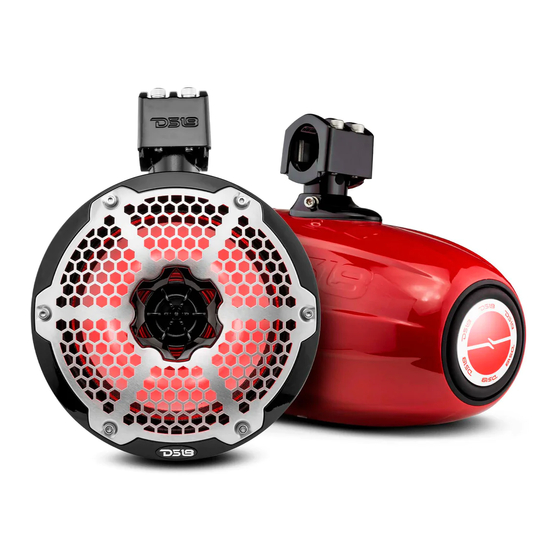
DS18 CF-X10TPNEO Kullanıcı El Kitabı - Sayfa 3
Konuşmacılar DS18 CF-X10TPNEO için çevrimiçi göz atın veya pdf Kullanıcı El Kitabı indirin. DS18 CF-X10TPNEO 12 sayfaları. Manual del usuario carbon fiber texture 10" marine tower
Ayrıca DS18 CF-X10TPNEO için: Kullanıcı El Kitabı (13 sayfalar)

CF-x10tpneo
INSTALLATION EQUIPMENT
• An Electric Drill With Bits
• Allen / Hex Key / Wrench Set
• Philips Head And Standard Screw Drivers
• Wire Strippers
• Crimping Tool
• Vom (Electronic Volt Ohm Meter)
• Heat Shrink Tubing And Heat Gun
• Soldering Iron
• Electronic (Rosen Not Acid Core) solder
BEGINNING MOUNTING
Step 1: Remove tower speakers from the
packaging and ALL hardware.
Step 2: Find a GOOD location that allows for
easy wiring of the speaker (and LED lights)
-PLUS does NOT impair your movement
around the location.
Step 3: Using the supplied 6mm hex wrench
spin out the 4-M8 screw that holds the
top clamp.
Step 4: Drill
15ø
-
20ø
tube bottom align the clamp wire out hole.
Step 5: Connect the speaker wire AMP out
and LED controller, Insulated lock the clamp
to the tube.
Step 6: Cut the length of the rubber pad and
wires outlet according to the diameter of the
installation pipe.
4-M8 Blot with Spring
Stop Washer
4 Pernos M8 con Arandela
de Tope de Resorte
STEP 3
PASO 3
STEP 5
PASO 5
Speaker Wires
Cables de Altavoz
mm hole on mounting
6 Core Wires
6 Hilos de Núcleo
Soldering, Heat shrink
Soldadura, Tubo Termorretráctil
EQUIPO DE INSTALACIÓN
• Un taladro eléctrico con bocas
• Allen / Llave hexagonal / Juego de llaves
• Destornilladores estándar Phillips
• Pelacables
• Herramienta de presión
• Vom (voltímetro electrónico)
• Tubo termorretráctil y pistola de calor
• Soldador
• Soldadura electrónica (núcleo de ácido rosen)
COMENZANDO EL MONTAJE
Paso 1: Retire los altavoces de torre del embalaje
y TODO.
Paso 2: Encuentre una BUENA ubicación que
permita el cableado fácil del altavoz (y las luces LED)
- ADEMÁS QUE NO perjudique su movimiento
alrededor de la ubicación.
Paso 3: Con la llave hexagonal de 6 mm
suministrada, gire el tornillo 4-M8 que sujeta la
abrazadera superior.
Paso 4: Perfore un orificio de 15ø - 20ø mm en la
parte inferior del tubo de montaje y alinee el orificio
de salida.
Paso 5: Conecte el cable de salida AMP del altavoz y
el controlador LED, trabe la abrazadera aislada
al tubo.
Paso 6: Corte la longitud de la almohadilla de goma
y la salida de los cables de acuerdo con el diámetro
de la tubería de instalación.
6 mm Hex Wrench
Llave Hexagonal de 6 mm
STEP 4
PASO 4
3.0"
2.75"
2.5"
2.25"
2.0"
1.75"
1.5"
1.25"
1.0"
RUBER PAD
FOR TUBE
STEP 6
PASO 6
2
