Daintree Contour Gen 2 Flex Kurulum Kılavuzu - Sayfa 4
Aydınlatma Ekipmanları Daintree Contour Gen 2 Flex için çevrimiçi göz atın veya pdf Kurulum Kılavuzu indirin. Daintree Contour Gen 2 Flex 9 sayfaları. Led lighting system

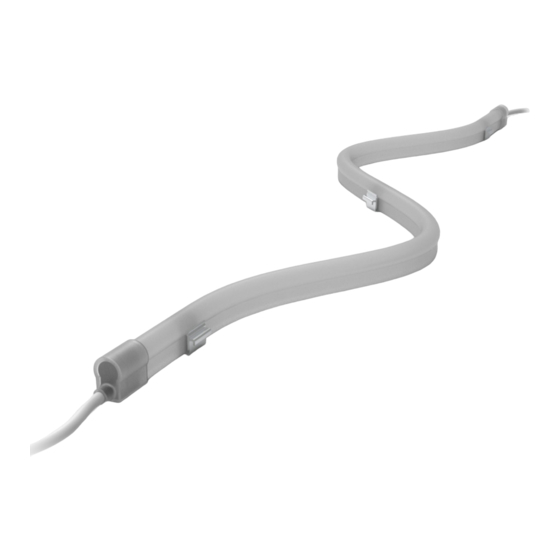
Contour Gen 2 Flex (Side Bend)
METHOD A - Installing Light Engines With GEXNFRL-1 Flex Rail
- Straight Runs Only
Planning First
Plan the layout by measuring the design
layout and dividing by 8 ft . (2.44m)
to determine the required quantity of
Contour Gen 2 Flex. Refer to the Cutting
Resolution Table on page 3 when
cutting any Contour Gen 2 Flex section.
Do not use more than one suffix
code for each respective application,
as mixing suffix codes may result in
appearance variation. Suffix code can
be found on the packaging label.
NOTE: If mounting surfaces are rough or uneven, take the necessary precautions to avoid bending the rail when
mounting.
If you have any questions about these instructions or your specific Contour application, please contact support at
Installation
4.5 in. (114 mm)
Mount the Flex rails so that
1
they are gapped at least
4.5 in. (114 mm) apart if end
to end, using a #6 or #8
(M2 or M3) screw at least
every 2 ft. of rail but not less
than 2 screws per rail.
NOTE: For an 8 ft. rail
length, there will be 2.08 in.
(52.8 mm) of excess light
engine on each end.
Cut on marks only
Using the Flex Rail final length,
2
measure out the necessary
length of Contour LED light
engine so that it will extend
at least 3/4 in. (19 mm). If
required, use a sharp cutting
tool to cut through light engine
(refer to the Cutting Resolution
Table on page 2).
4
Installation Guide
Electrical grade
silicone
For cut end, fill cap with
3
electrical grade silicone and
push cap on the end to seal.
Clean excess silicone.
