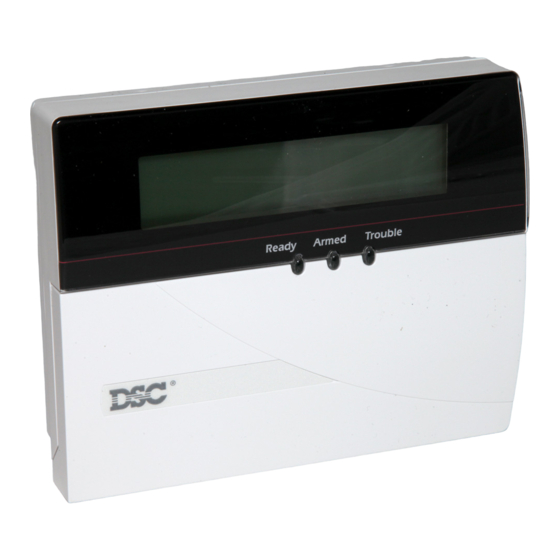
DSC Digital Security Control PC158O Kullanım Kılavuzu - Sayfa 8
Güvenlik Sistemi DSC Digital Security Control PC158O için çevrimiçi göz atın veya pdf Kullanım Kılavuzu indirin. DSC Digital Security Control PC158O 20 sayfaları. Tyco digital security control instruction manual

PC1575RK LED Keypad
1
1
2
3
Ready
2
3
Armed
4
Memory
4
5
6
5
6
Bypass
ZONE BYPASSING:
Press [ ] [1] [Zone
Trouble
to be bypassed]. Press [#] to return to
7
8
9
"Ready". Arm the system.
Zone 1
PROGRAMMING USER CODES:
Press
[ ] [5] [Master Code] [1 to 6 for user
Zone 2
code number]. Enter four digits. Press
0
#
[#] to return to "Ready".
Zone 3
INST ANT ARM:
Press [ ] [9] [User
Code] to arm the system without entry
Zone 4
delay.
Zone 5
F
A
P
Zone 6
F
A
P
NOT
NOT
NOT
IN
IN
IN
USE
USE
USE
TEST SYSTEM WEEKLY
18000031 R3
Emergency Keys (All Keypads)
PC5506 / LCD5500:
Press both * Keys for two seconds to send a FIRE
transmission.
Press both
* Keys for two seconds to send an
AUXILIARY transmission.
Press both
* Keys for two seconds to send a PANIC
transmission.
PC1575RK / SL-75:
Press the [F]* key for two seconds to send a FIRE
transmission.
Press the [A]* key for two seconds to send an
AUXILIARY transmission.
Press the [P]* key for two seconds to send a PANIC
transmission.
* IMPORTANT NOTE (All Keypads): The Fire,
Auxiliary and Panic keys will NOT function unless
programmed by the installer. If these keys are in
service and the installer has enabled audible
feedback, holding down the key for two seconds
will cause the keypad sounder to beep indicating
that the input has been accepted and transmission
is underway.
8
SL-75 LED Keypad
1
2
3
4
5
6
R eady
Armed System
System Light (SL-75
Only):
1
2
3
If the System light is
ON, the system is busy
and one or more of the
4
5
6
conditions could be
present:
7
8
9
System Troubles (See
"Viewing Trouble
0
#
Conditions" on page 9).
Alarm Memory (See
F
A
P
"Disarming the System"
on page 5).
Zone Bypassing (See
"Zone Bypassing" on
page 8).
NOTE: If you have a SL-75 keypad, the System
light acts as a Trouble, Memory and Bypass
indicator. Unlike the other keypads, these
conditions will only be represented by the System
light. Please keep this in mind when reading other
functions in this manual.
Display Lights
Ready Light
(All keypads)
:
If the Ready light is ON, the system is ready for arming.
The system cannot be armed unless the Ready light is
ON (see "Arming the System" on page 3).
Armed Light
:
(All keypads)
If the Armed light is ON, the system has been armed
successfully.
Trouble Light
(All keypads)
:
If the Trouble light is ON, see "Viewing Trouble
Conditions" on page 11.
Memory Light (LED
keypads only):
Upon disarming, if an alarm has occurred while the
system was armed, the Memory light will turn ON (See
"Disarming the System" on page 5).
PC5506 LED Keypad
Memory
1
1
2
2
3
3
4
4
5
5
6
6
Bypass
Bypass
Fire
Program
Ready
Armed
Trouble
Stay
Away
Chime
Reset
Exit
4
1
2
5
6
3
TEST SYSTEM WEEKL Y
Refer to Instruction Manual for
NO T IN USE
NOT IN USE
NO T IN USE
testing instructions.
Bypass Light
(LED keypads only):
If the Bypass light is ON, one or more zones are
bypassed (See "Zone Bypassing" on page 10).
Fire Light
(PC5506 keypad only):
If the Fire light is ON, a fire alarm has occurred (See
"Fire Alarm Operation" on page 13).
Program Light
(PC5506 keypad only):
The Program light will flash when you are
programming access codes, or performing other
programming functions. If someone is programming
at another keypad, the Program light will turn ON to
indicate that the system is busy.
LCD5500 Keypad
Enter Code
To Arm System
Ready
Armed
Trouble
Stay
< >
Away
Chime
Reset
Exit
Message Display Security Station
Press to select function.
TEST SYSTEM WEEKL Y
Press to Exit / Return.
Refer to Instruction
Indicates more information is
Manual for testing
available. Press either key to view.
instructions.
Press to advance display to the
next function or m essage.
Press to see previous function or m essage.
NO T IN USE
NOT IN USE
NO T IN USE
The Liquid Crystal Display (LCD) displays prompts and
system information on two 16 character lines.
If "< >" appears, more information can be accessed by
using the arrow (< >) keys. Press [<] to see the previous
function or item of information. Press [>] to advance the
display to next function or item of information.
Press the keys on the number pad as prompted by the
LCD display to view alarms or troubles, to arm and
disarm the system and to bypass zones.
To exit a function and return to the Ready state, press [#].
To select a function press [ ].
Important Note: Test system weekly and
have any system trouble conditions
corrected by your alarm installer.
9
